Setting Up AEM SDK and Local Environment
This article shows how to set up Adobe Experience Manager (AEM) as a Cloud Service SDK for local development using a cloud-parity-first approach—so what you run locally behaves the same way it does in Adobe Cloud Manager.
The emphasis is on treating the AEM SDK as an extension of Cloud Service, rather than a traditional on-premise deployment model. Configuration, run modes, folder structures, Dispatcher rules, HTTPS, and replication all follow Adobe-managed runtime expectations.
Rather than relying on shortcuts or outdated local patterns, this guide focuses on a production-faithful setup that minimizes CI/CD failures and removes surprises during pipeline validation and deployment.
In this article, you will:
- Set up the latest AEM SDK (v2025.x) on macOS or Windows
- Run Author (4502) and Publish (4503) with correct cloud-aligned modes
- Match local SDK versions with Cloud Manager runtimes
- Enable remote JVM debugging for faster backend troubleshooting
- Configure Author → Publish replication correctly
- Verify package installation and content activation
- Enable local HTTPS using Adobe-recommended tooling
- Prepare your environment for Dispatcher validation and Docker-based testing
Throughout this guide, AEM is treated purely as a Cloud Service runtime—with local development optimized for accuracy, repeatability, and pipeline readiness, not convenience or legacy assumptions.
Setting Up Your Local AEM Development Environment
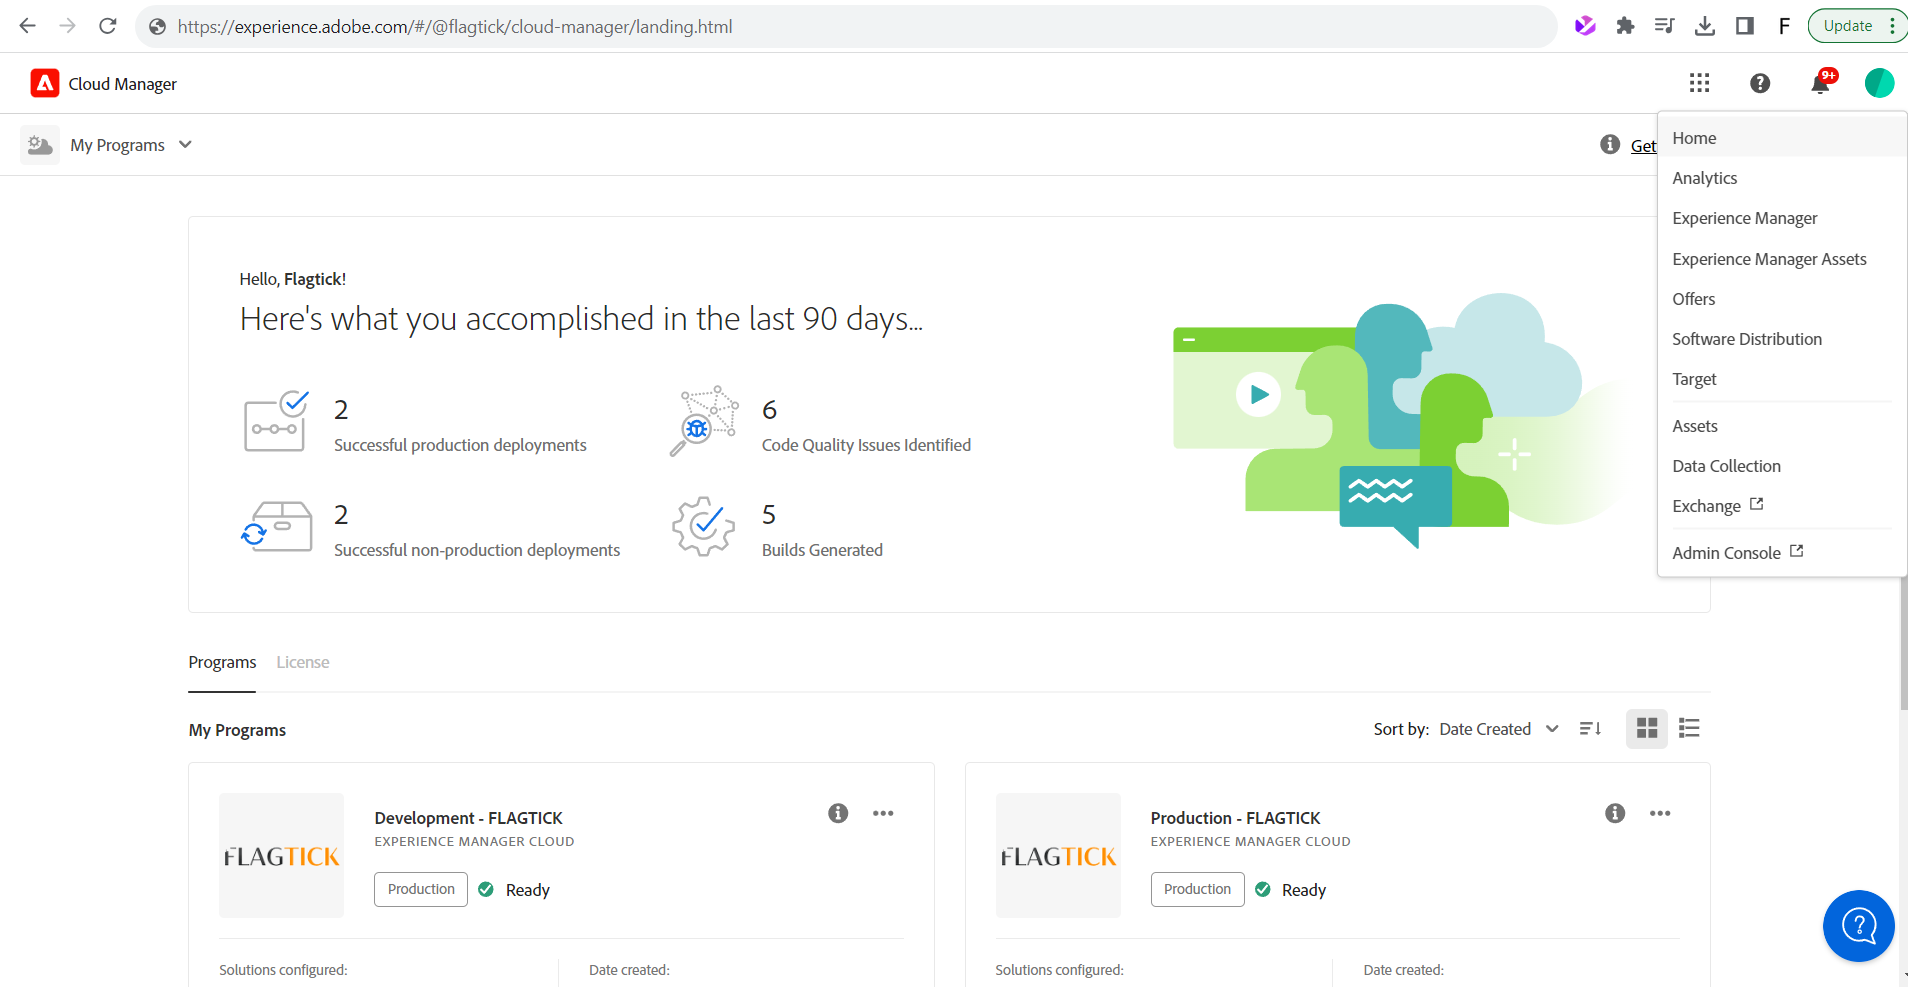
Before setting up your local AEM environment, make sure you have access to an Adobe Experience Cloud account that is linked to your organization’s program.
This connection gives you access to the Software Distribution portal, where you’ll download the latest AEM SDK (Author + Publish + Dispatcher Tools).
💡 My account is associated with Adobe’s client program “Flagtick”, which provides AEM cloud services access. This ensures I can securely download and test AEM SDK builds that match our Cloud Manager setup.
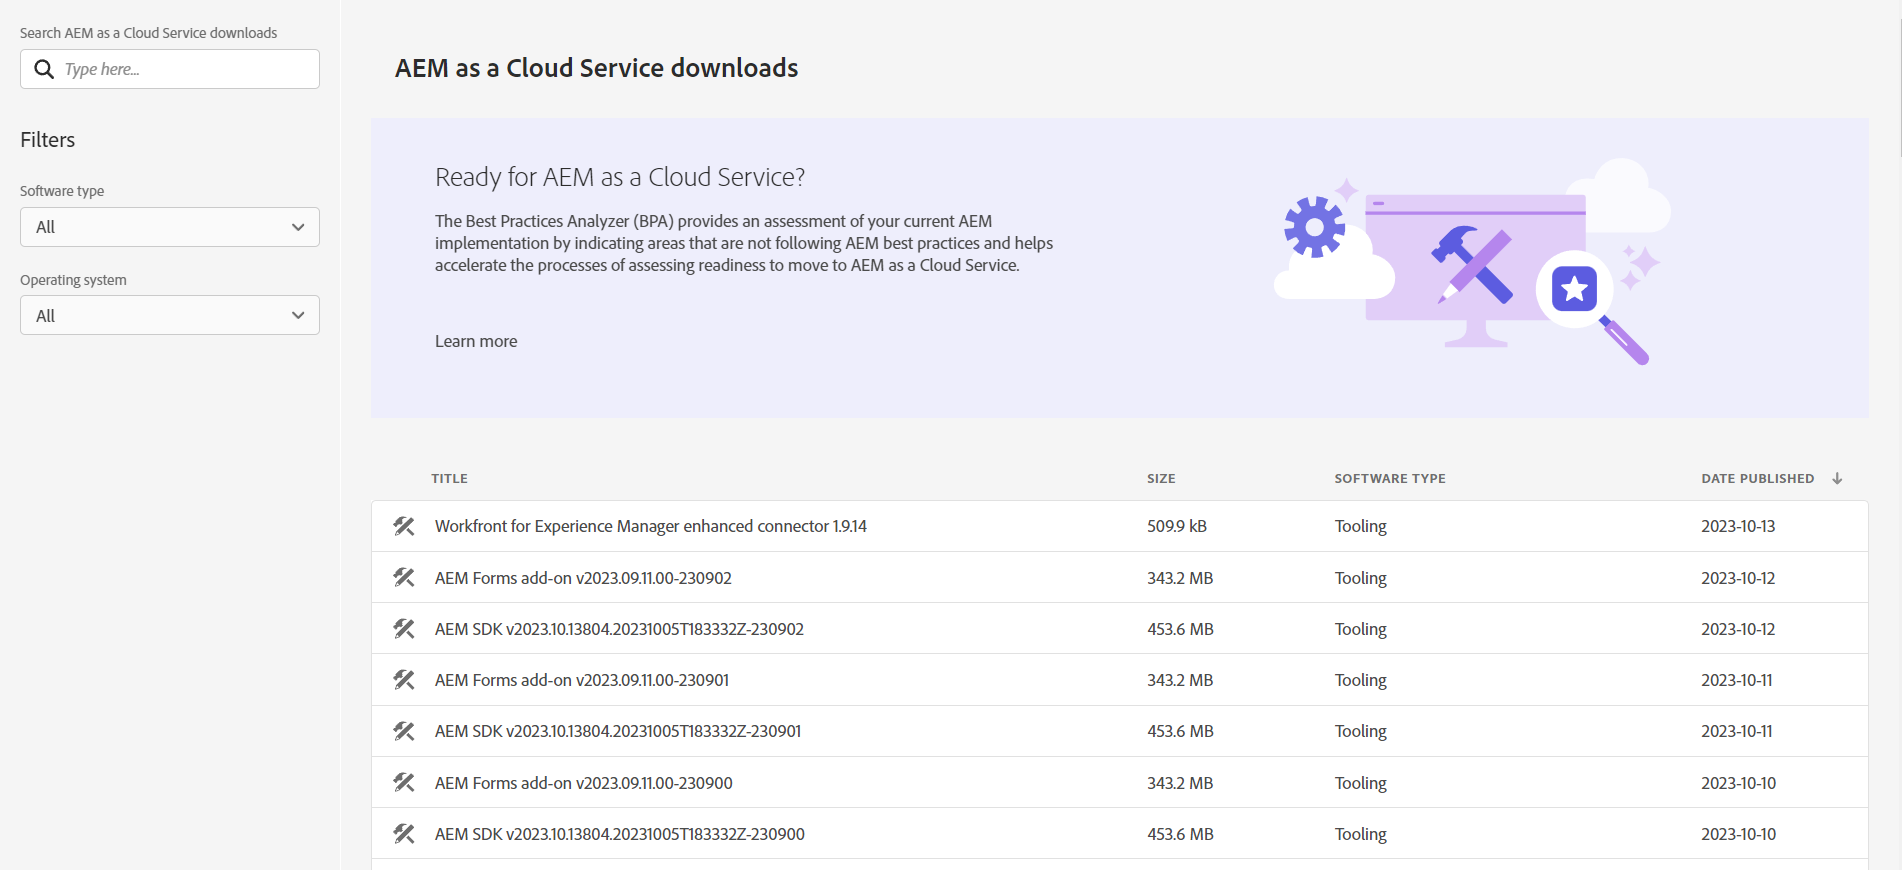
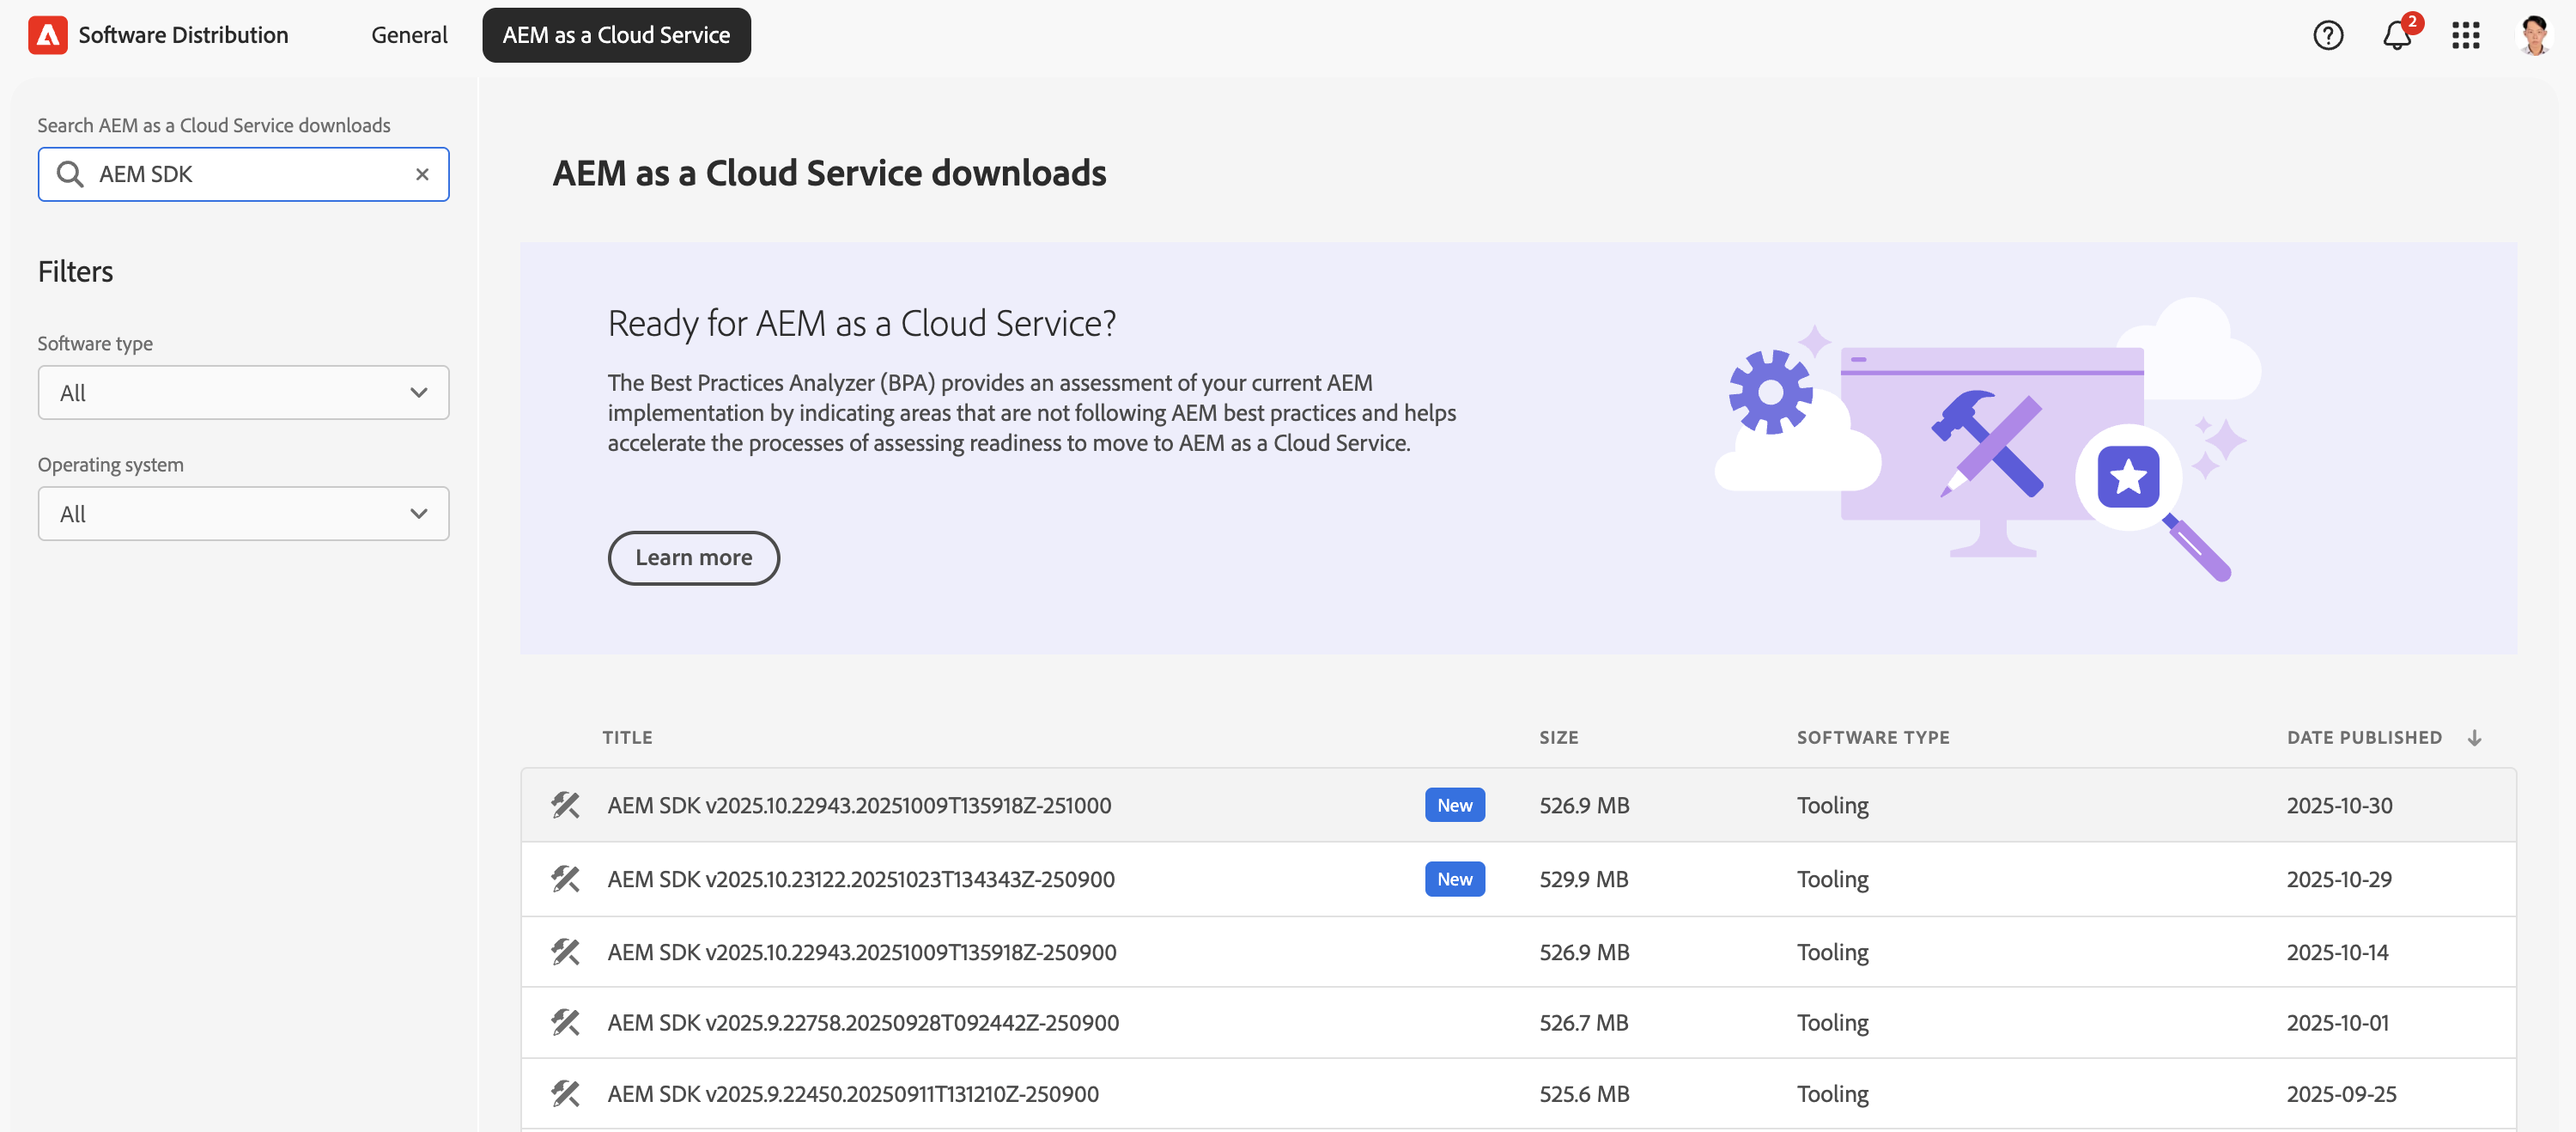
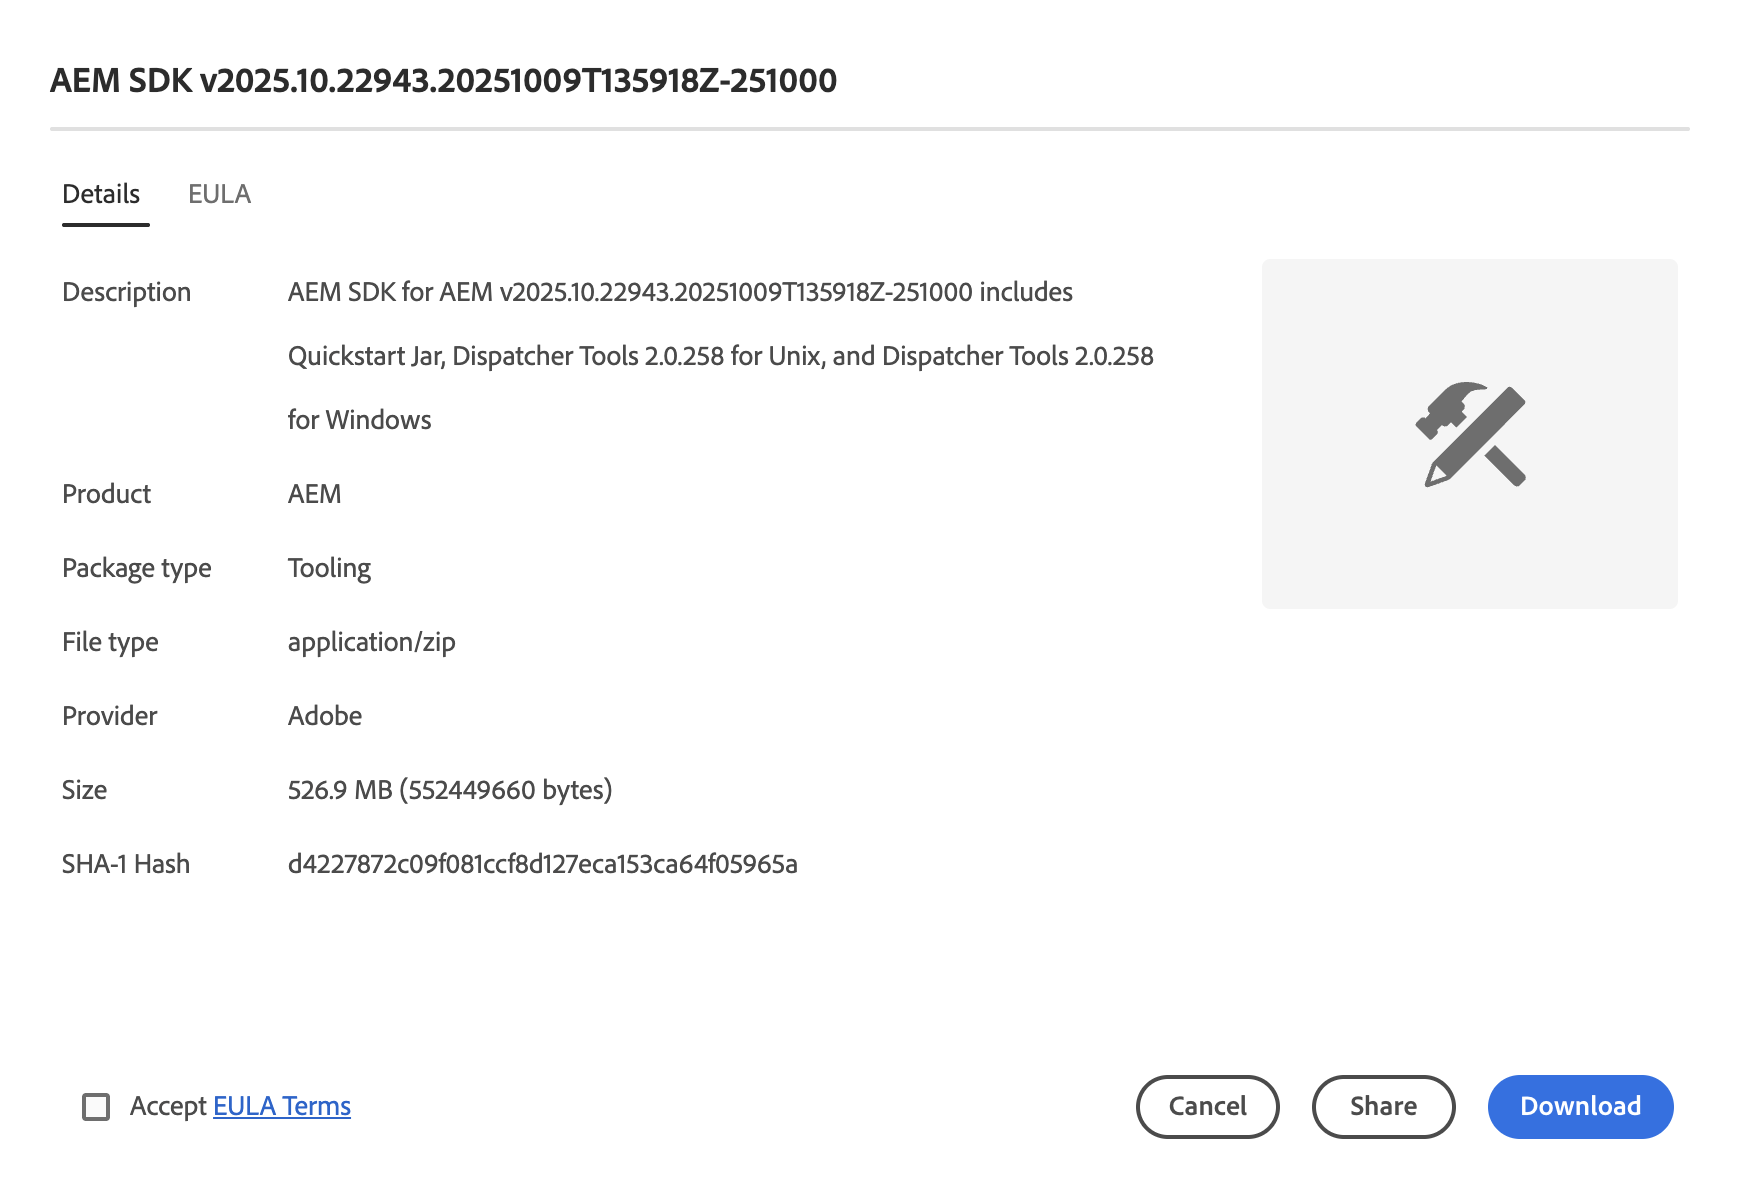
Once your account is linked, visit the Software Distribution Portal to download the AEM SDK.
Use filters to choose:
- Software Type: Tooling
- Operating System: Your local OS
📦 Adobe updates the SDK monthly — always match the SDK version with your Cloud Manager runtime.
If your SDK feels out of sync, check the About AEM version in aem/start.html and use it to download the matching Cloud-aligned SDK.
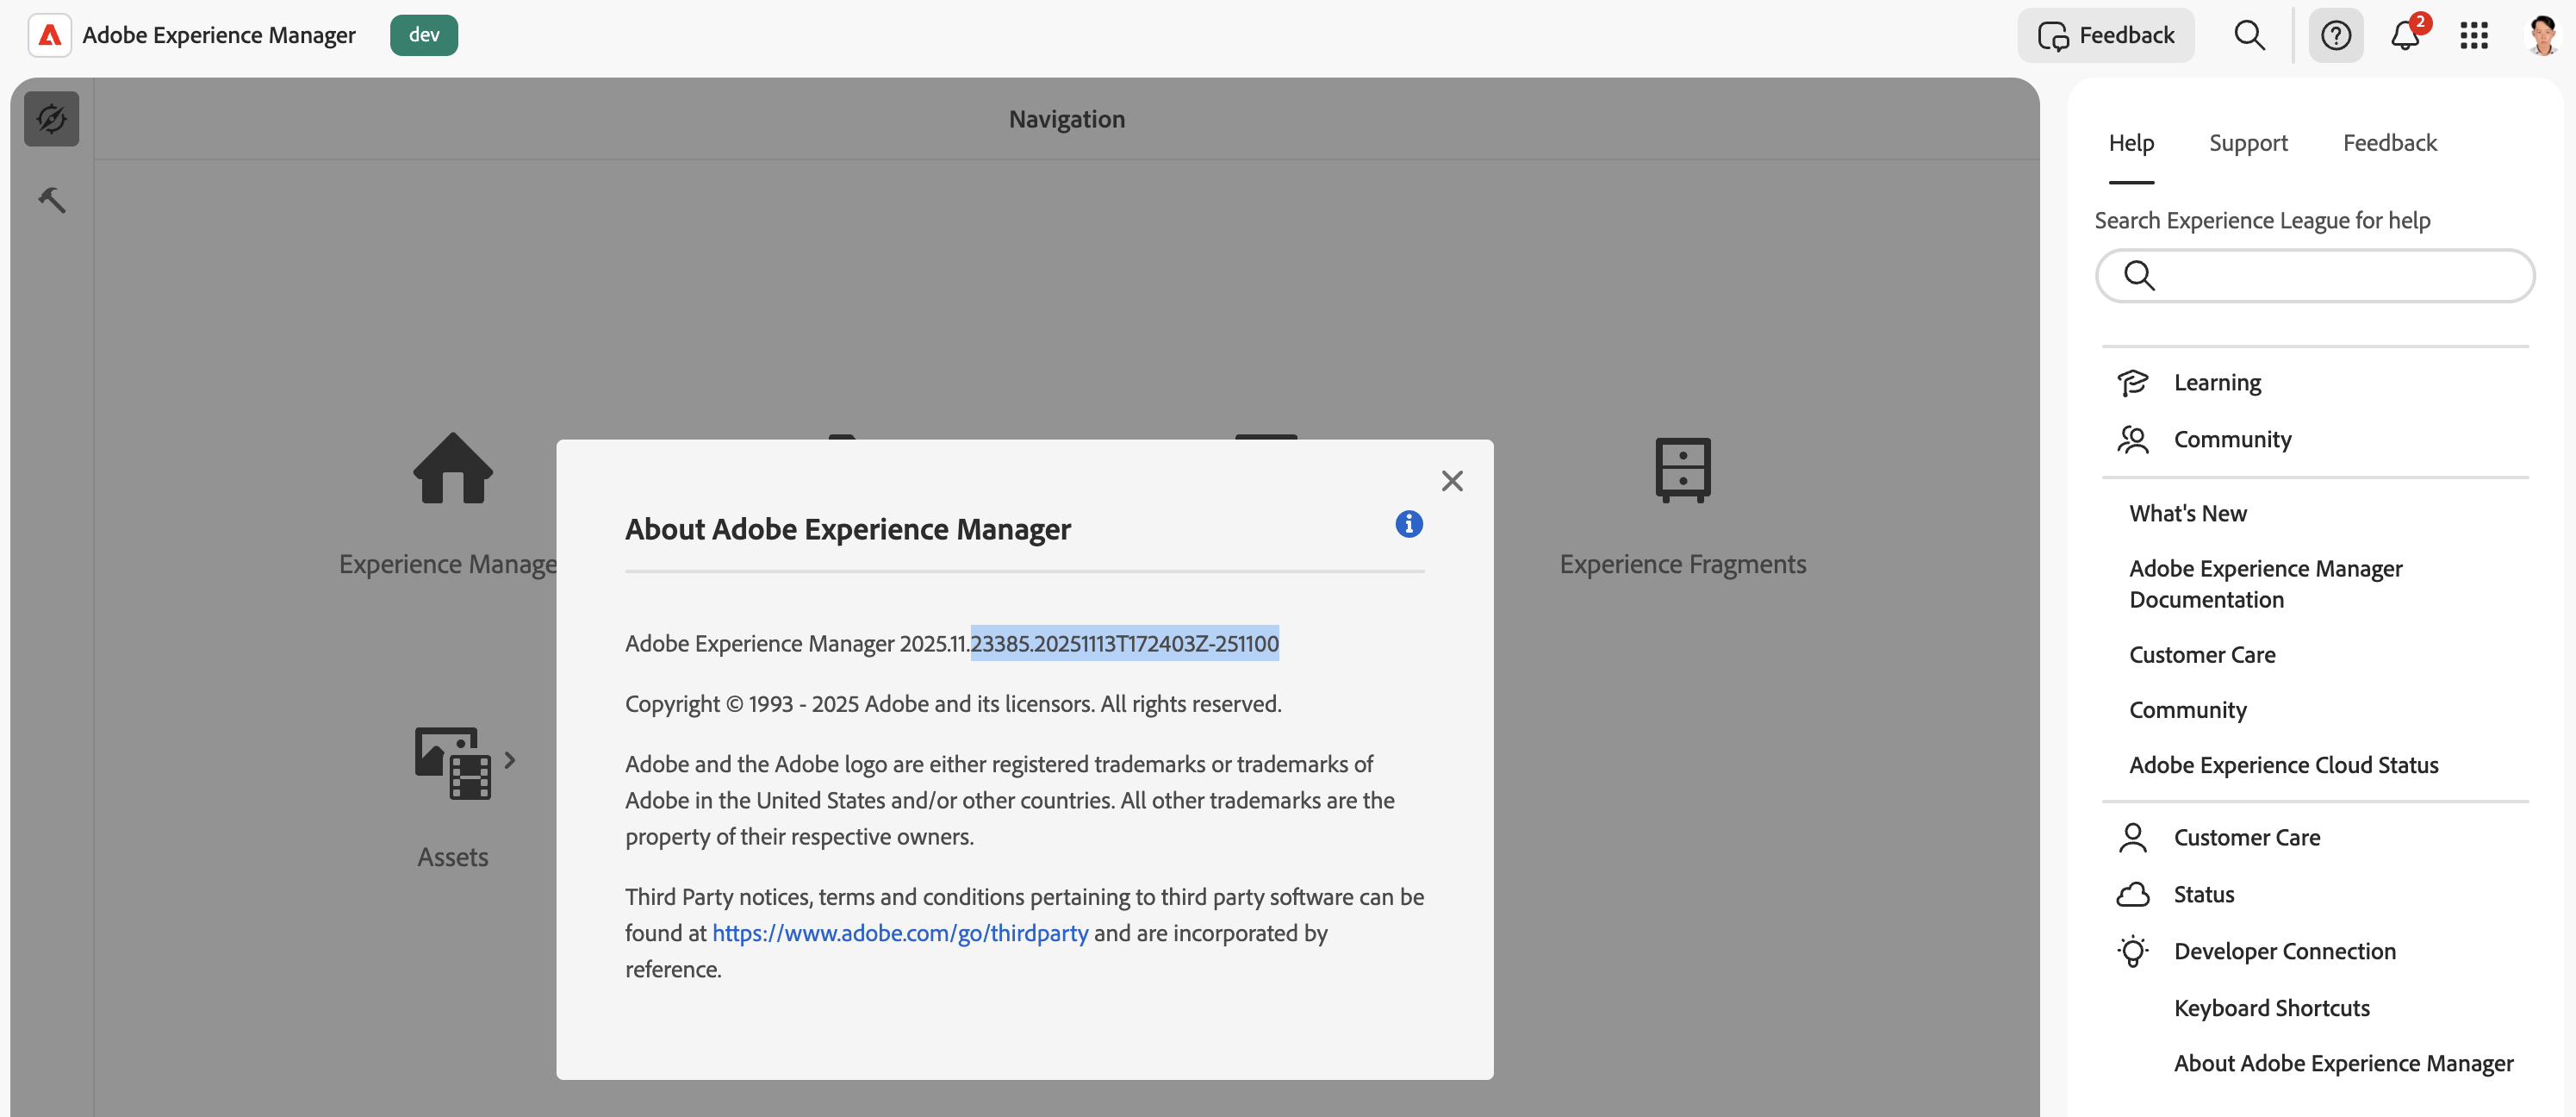
Use the latest AEM SDK by default. Fall back to older versions only for compatibility.
After downloading, you will get a compressed zip file of the AEM SDK saved locally (as shown below). In this example, the aem-sdk-latest-version.zip file is stored under the C:\aem-sdk folder.
Once extracted, the SDK folder contains everything required to start your local AEM instance.
Prerequisites
Before setting up AEM SDK locally, ensure following prerequisites are installed:
- Java 11 (LTS) — required to run AEM SDK
- Node.js (v14.x) — used for frontend builds and UI components
- npm (v6.x) — dependency management (bundled with Node.js)
SDK package includes two runnable folders:
- author (4502)
- publish (4503)
Each contains its own JAR and license file.
~/aem-sdk
├── author
│   ├── aem-author-p4502.jar
│   └── license.properties
└── publish
    ├── aem-publish-p4503.jar
└── license.properties💻 On macOS / Linux
Always start the Author or Publish instance using scripts to ensure the correct run mode, for example:
cd ~/aem-sdk/author
sh aem-author-http.commandStart instance using script or java -jar to ensure correct Author or Publish run mode.
For example, start the Publish instance using this script:
#!/bin/bash
cd /Users/macbook/Applications/aem-sdk/publish
java -Xmx2g -jar aem-publish-p4503.jar -r publish🪟 On Windows
Double-click the .bat file (for example, start-author.bat) or run from Command Prompt:
java -jar aem-author-p4502.jar
java -jar aem-publish-p4503.jarDo not double-click AEM JAR files. Always start instances using provided scripts or
java -jarto ensure correct run modes.
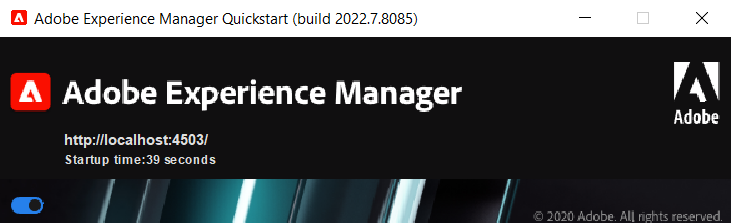
Once the startup logs finish, open:
- http://localhost:4502 → Author instance
- http://localhost:4503 → Publish instance
Use http://localhost:<port>/system/console/status-slingsettings after startup to confirm the active run modes and ensure the correct config.* configuration is applied.
Apache Sling Settings

Sling ID = 4ac16d1c-e4cc-4b98-bad5-99dacc9a2bdc
Sling Name = Instance 4ac16d1c-e4cc-4b98-bad5-99dacc9a2bdc
Sling Description = Instance with id 4ac16d1c-e4cc-4b98-bad5-99dacc9a2bdc and run modes [s7connect, crx3, publish, sdk, live, crx3tar]
Sling Home = /Users/macbook/Applications/aem-sdk/publish/crx-quickstart
Sling Home URL = file:/Users/macbook/Applications/aem-sdk/publish/crx-quickstart/
Run Modes = [s7connect, crx3, publish, sdk, live, crx3tar]This confirms Publish instance runs with expected run modes and configuration settings.
» Author Mode (Port 4502)

» Publish Mode (Port 4503)
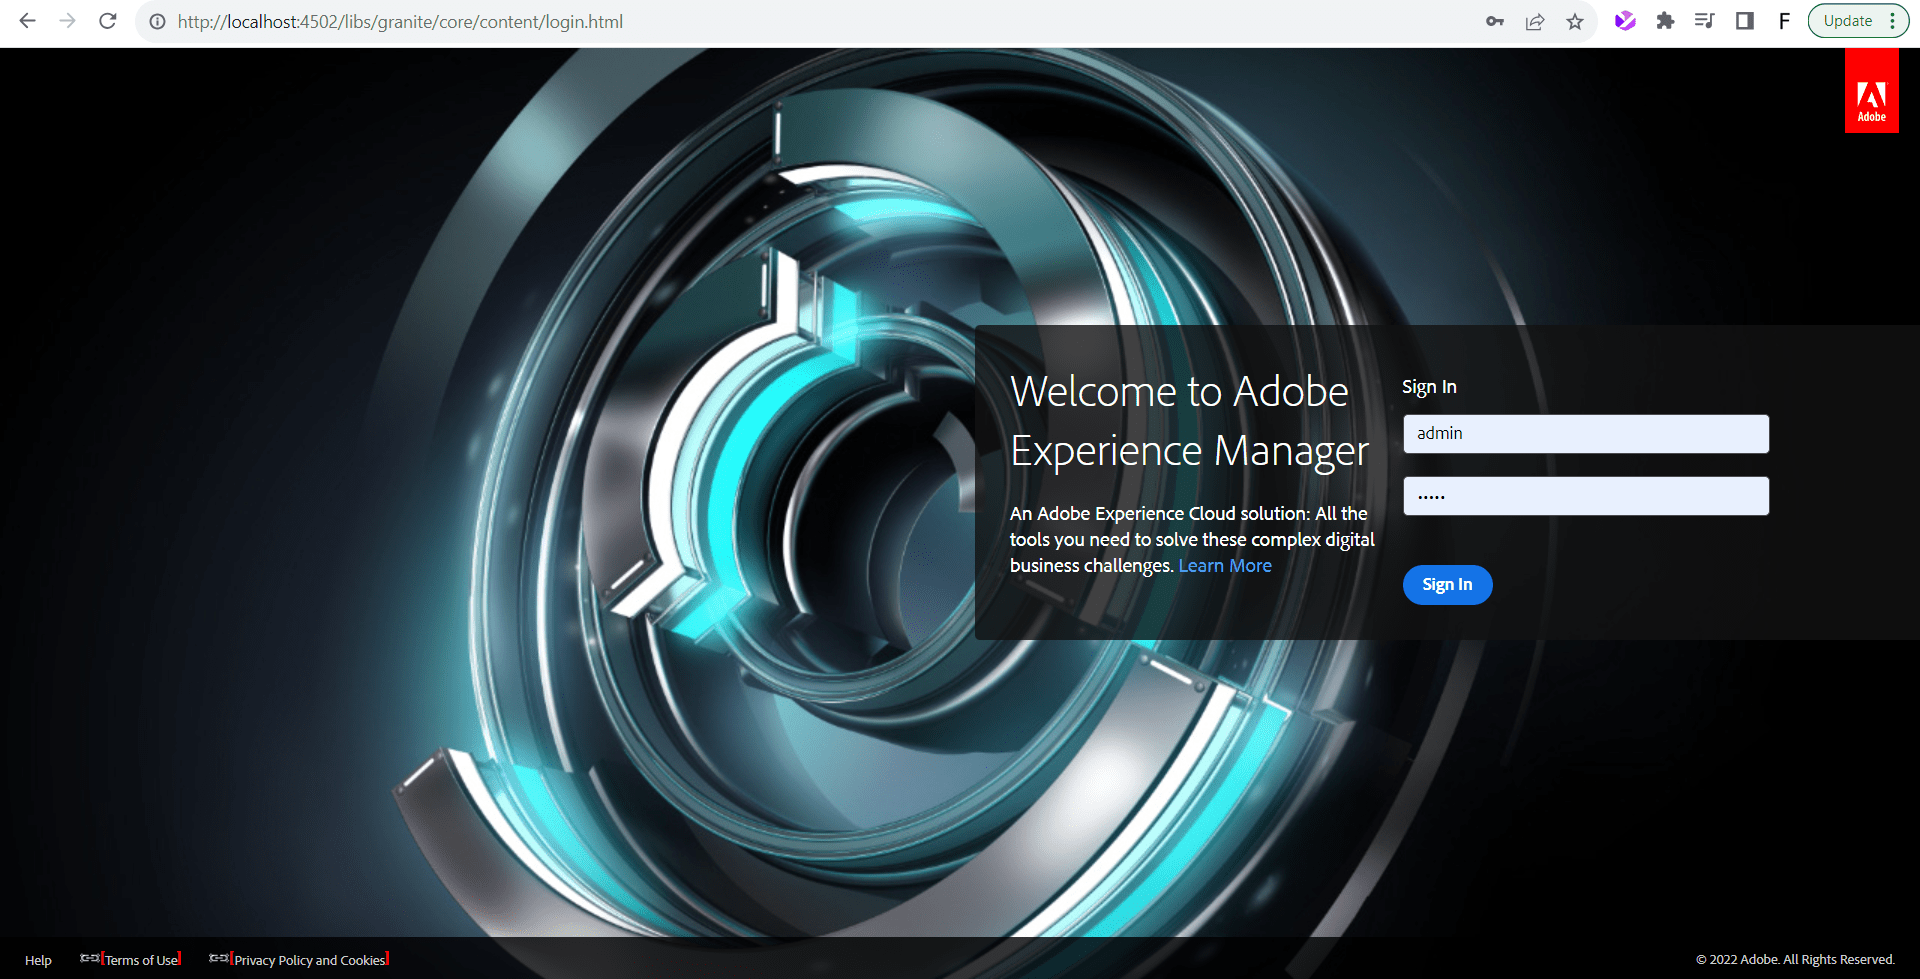
Once AEM Quickstart has finished loading, open your browser and go to http://localhost:4502 to access the Author environment.
Use the default admin credentials to sign in:
Username: admin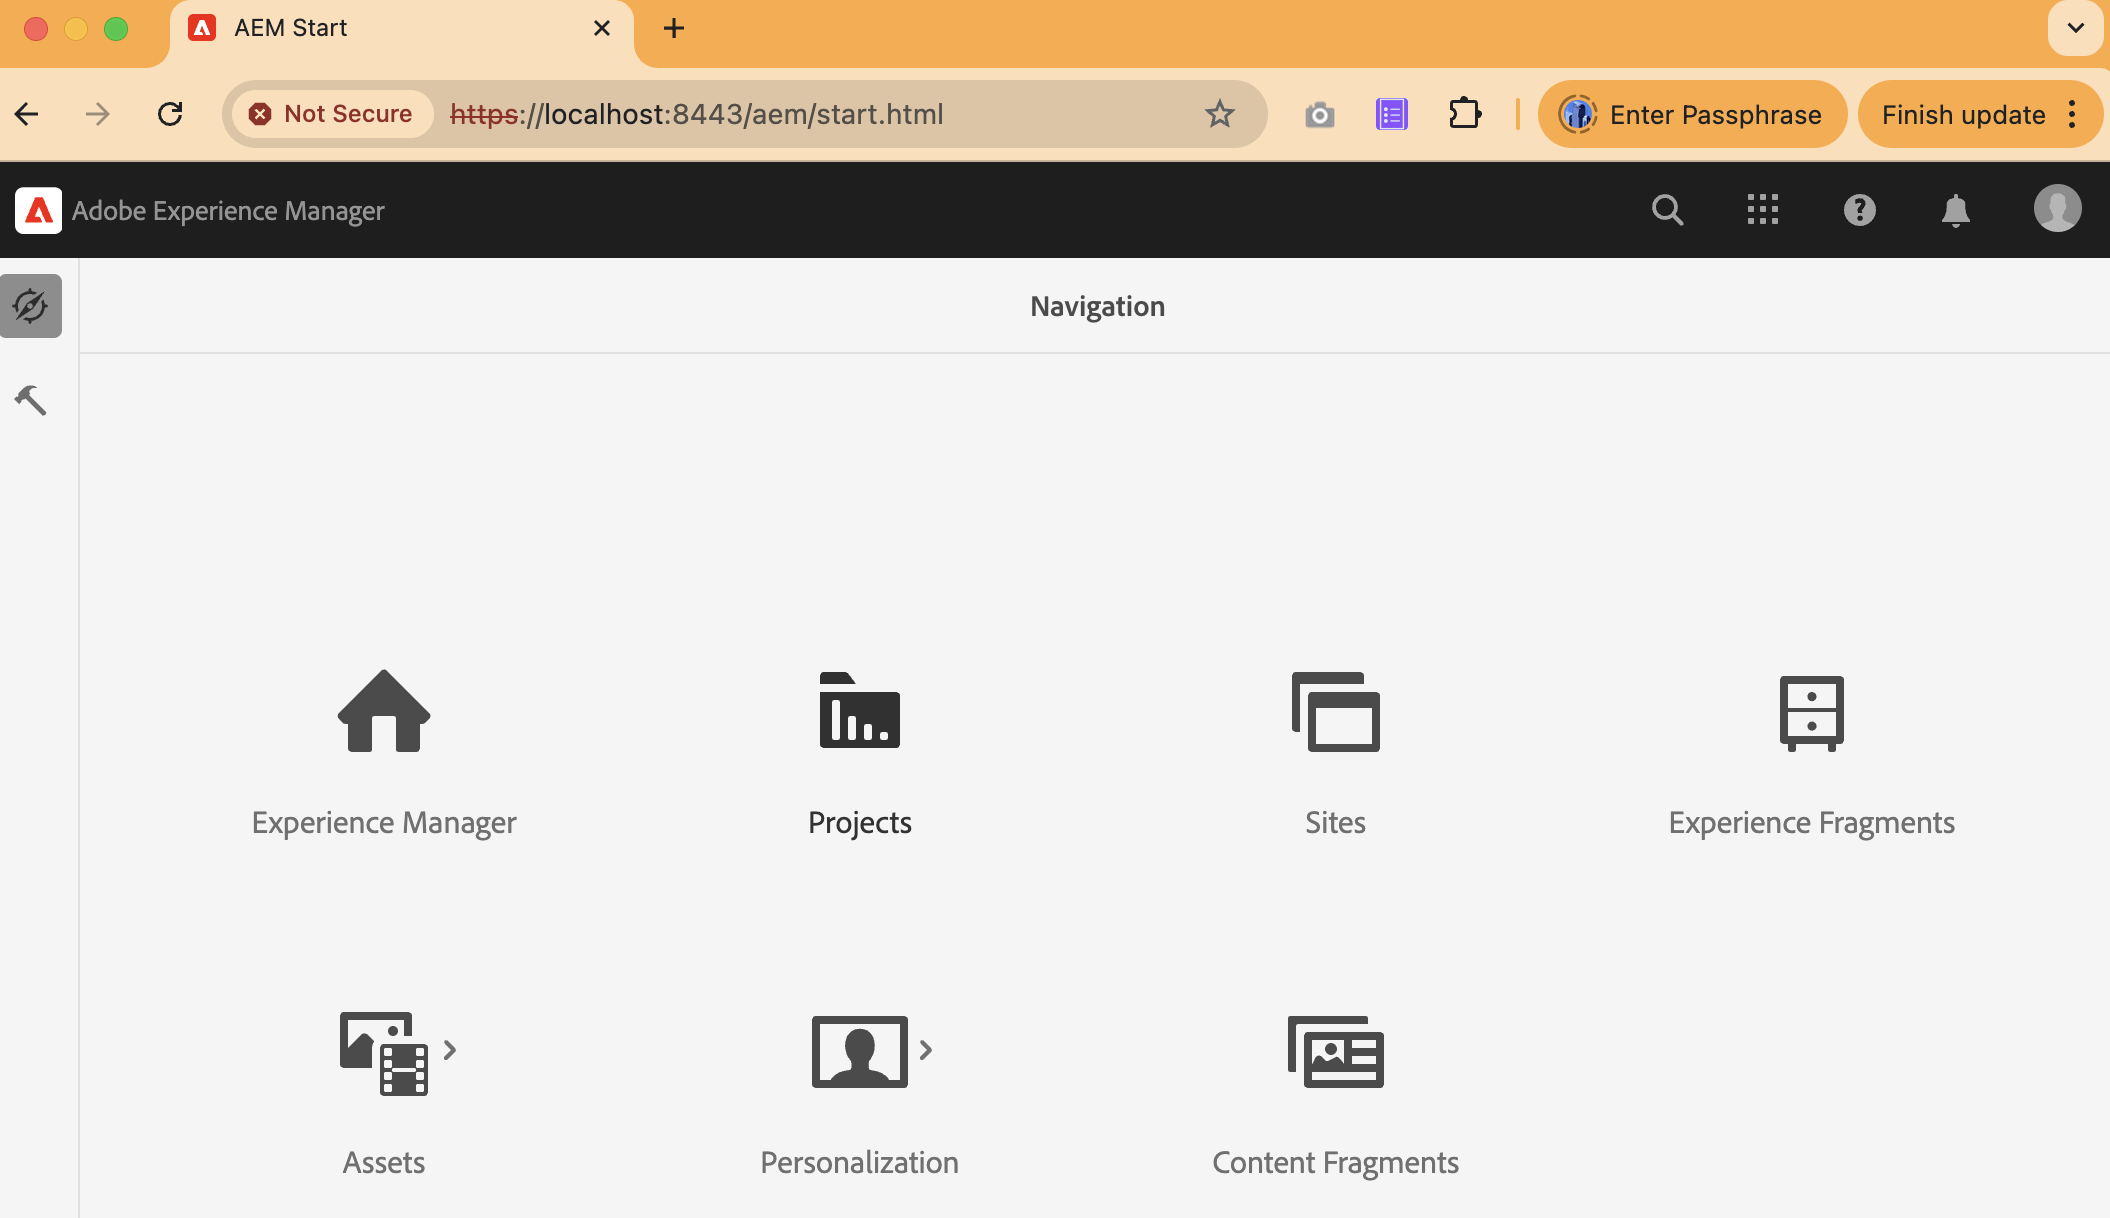
Password: adminWhen Quickstart is done, the browser opens up the AEM login screen (screenshot below).
After login, AEM authoring interface opens for managing Sites and Assets.
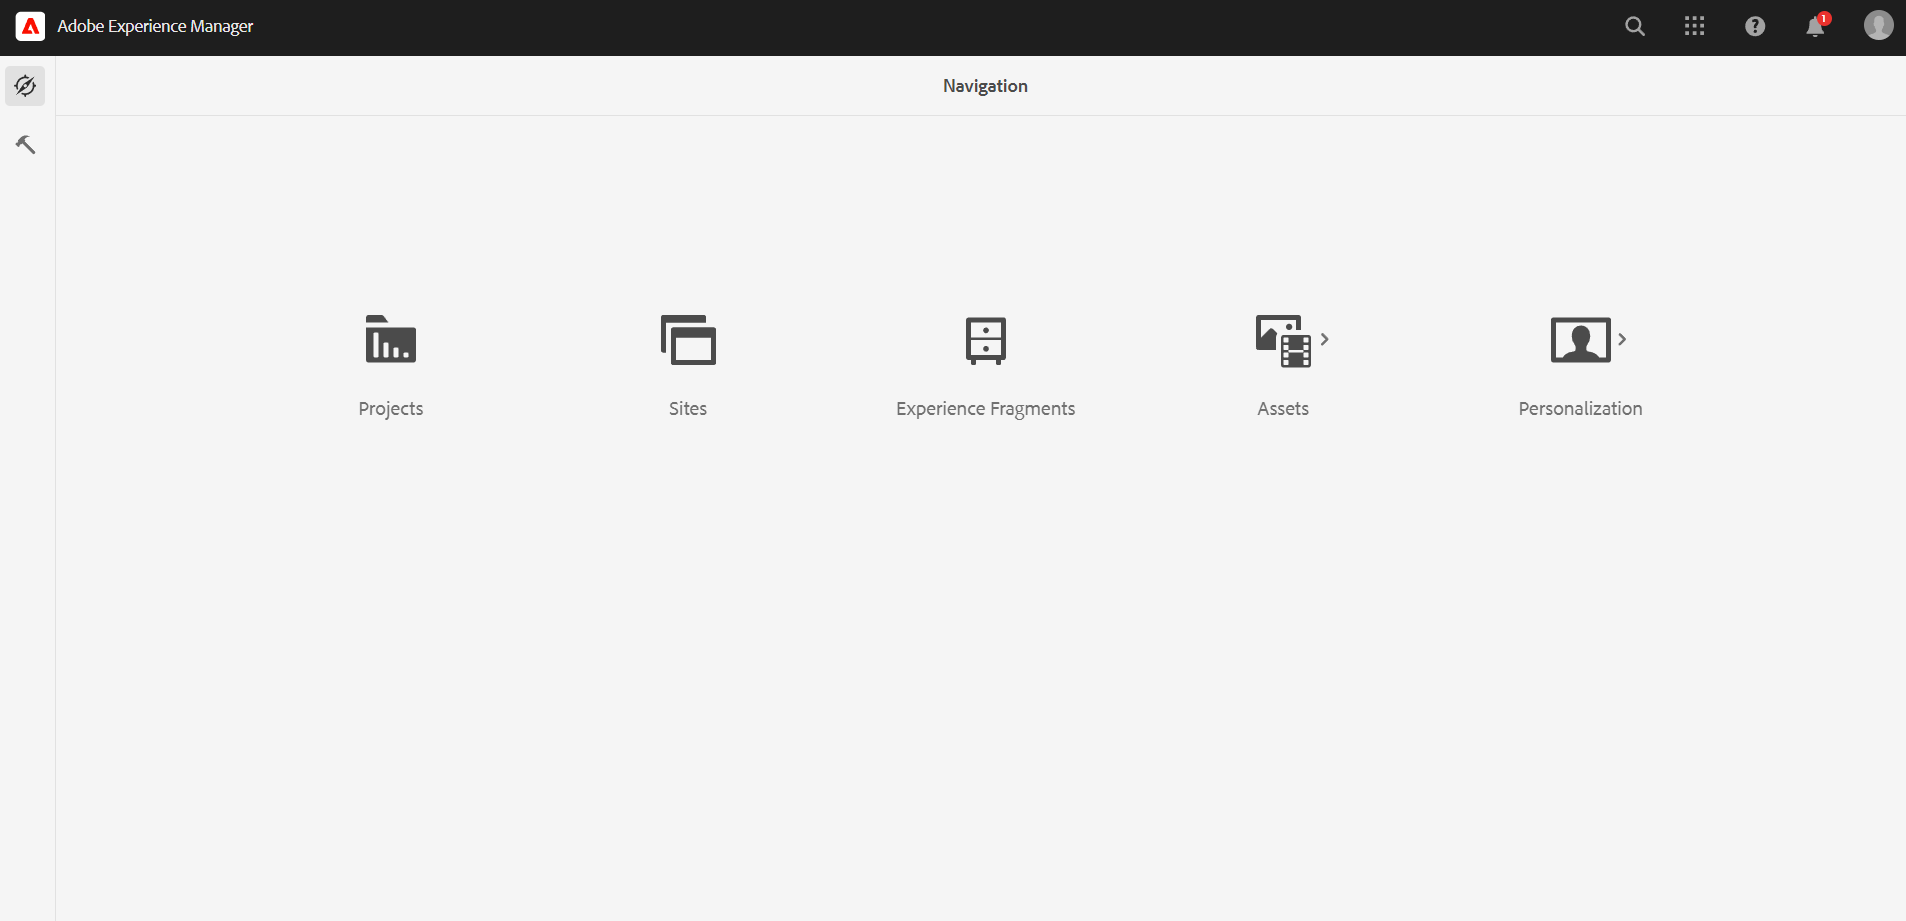
💡 Once you can access this dashboard, your local AEM Author instance is up and running. You are now ready to import your project codebase or start developing custom components.
Enable Remote Debugging for AEM SDK (Optional Step)
Remote debugging connects IDE (for example, IntelliJ IDEA) to AEM for inspecting running code and diagnosing issues.
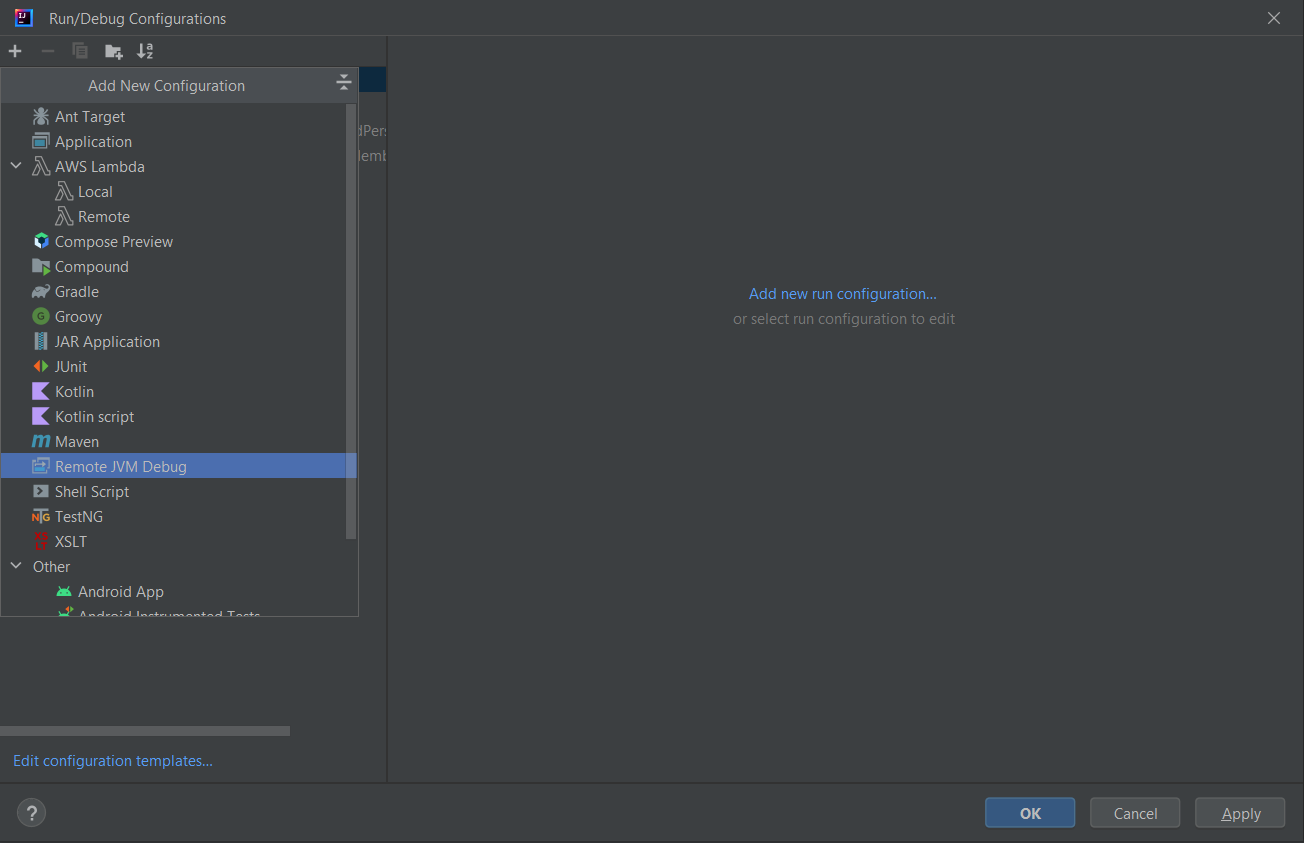
Create debug configuration named AEM Debug, set mode to Attach to remote JVM, and configure:
- Host: localhost
- Port: 8000
Then, use the following JVM argument when starting AEM:
-agentlib:jdwp=transport=dt_socket,server=y,suspend=n,address=*:8000Parameter breakdown:
- address=*:8000 — binds the debug server to port 8000
- transport=dt_socket — uses socket transport for debugging
- server=y — runs JVM as a debug server
- suspend=n — starts AEM normally while waiting for debugger to attach
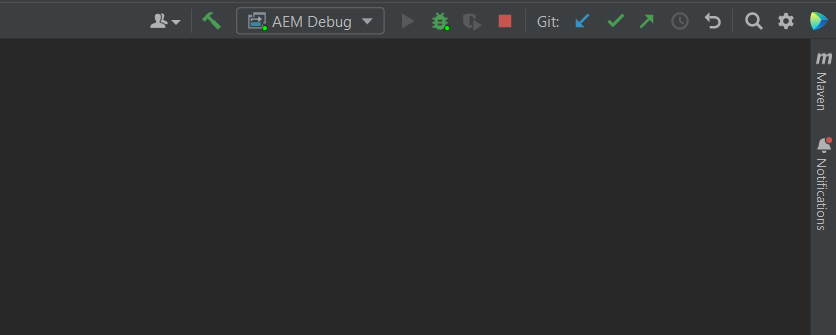
Once configured, attach IntelliJ to your running AEM instance to step through code in real time.

netstat -ano | findstr "8000"This shows processes using port 8000. To terminate a conflicting one:
taskkill /F /PID <pid>Once the port is free, navigate to your ~/aem-sdk directory — this contains the startup and debug scripts for both Author and Publish instances.
~/aem-sdk
├── author
│   ├── aem-author-p4502.jar
│   ├── license.properties
│   ├── start-debug.bat
│   ├── crx-quickstart
│   └── publish
│       ├── aem-publish-p4503.jar
│       ├── start-debug.bat
│       └── crx-quickstart
│
└── publish
    ├── aem-publish-p4503.jar
    ├── license.properties
└── crx-quickstartScripts start local AEM with JVM debugging enabled for remote debugging.
# Author
java -Xmx2048m -XX:PermSize=256m -XX:MaxPermSize=512m ^
     -agentlib:jdwp=transport=dt_socket,address=8000,server=y,suspend=n ^
     -jar aem-author-p4502.jar -v

# Publish
cd C:\aem-sdk\publish
java -Xmx2048m -XX:PermSize=256m -XX:MaxPermSize=512m ^
     -agentlib:jdwp=transport=dt_socket,address=8000,server=y,suspend=n ^
-jar aem-publish-p4503.jar -vOnce AEM is running, start the AEM Debug configuration in IntelliJ to attach automatically and debug in real time.
Configuring Replication Agents (Post-Setup)
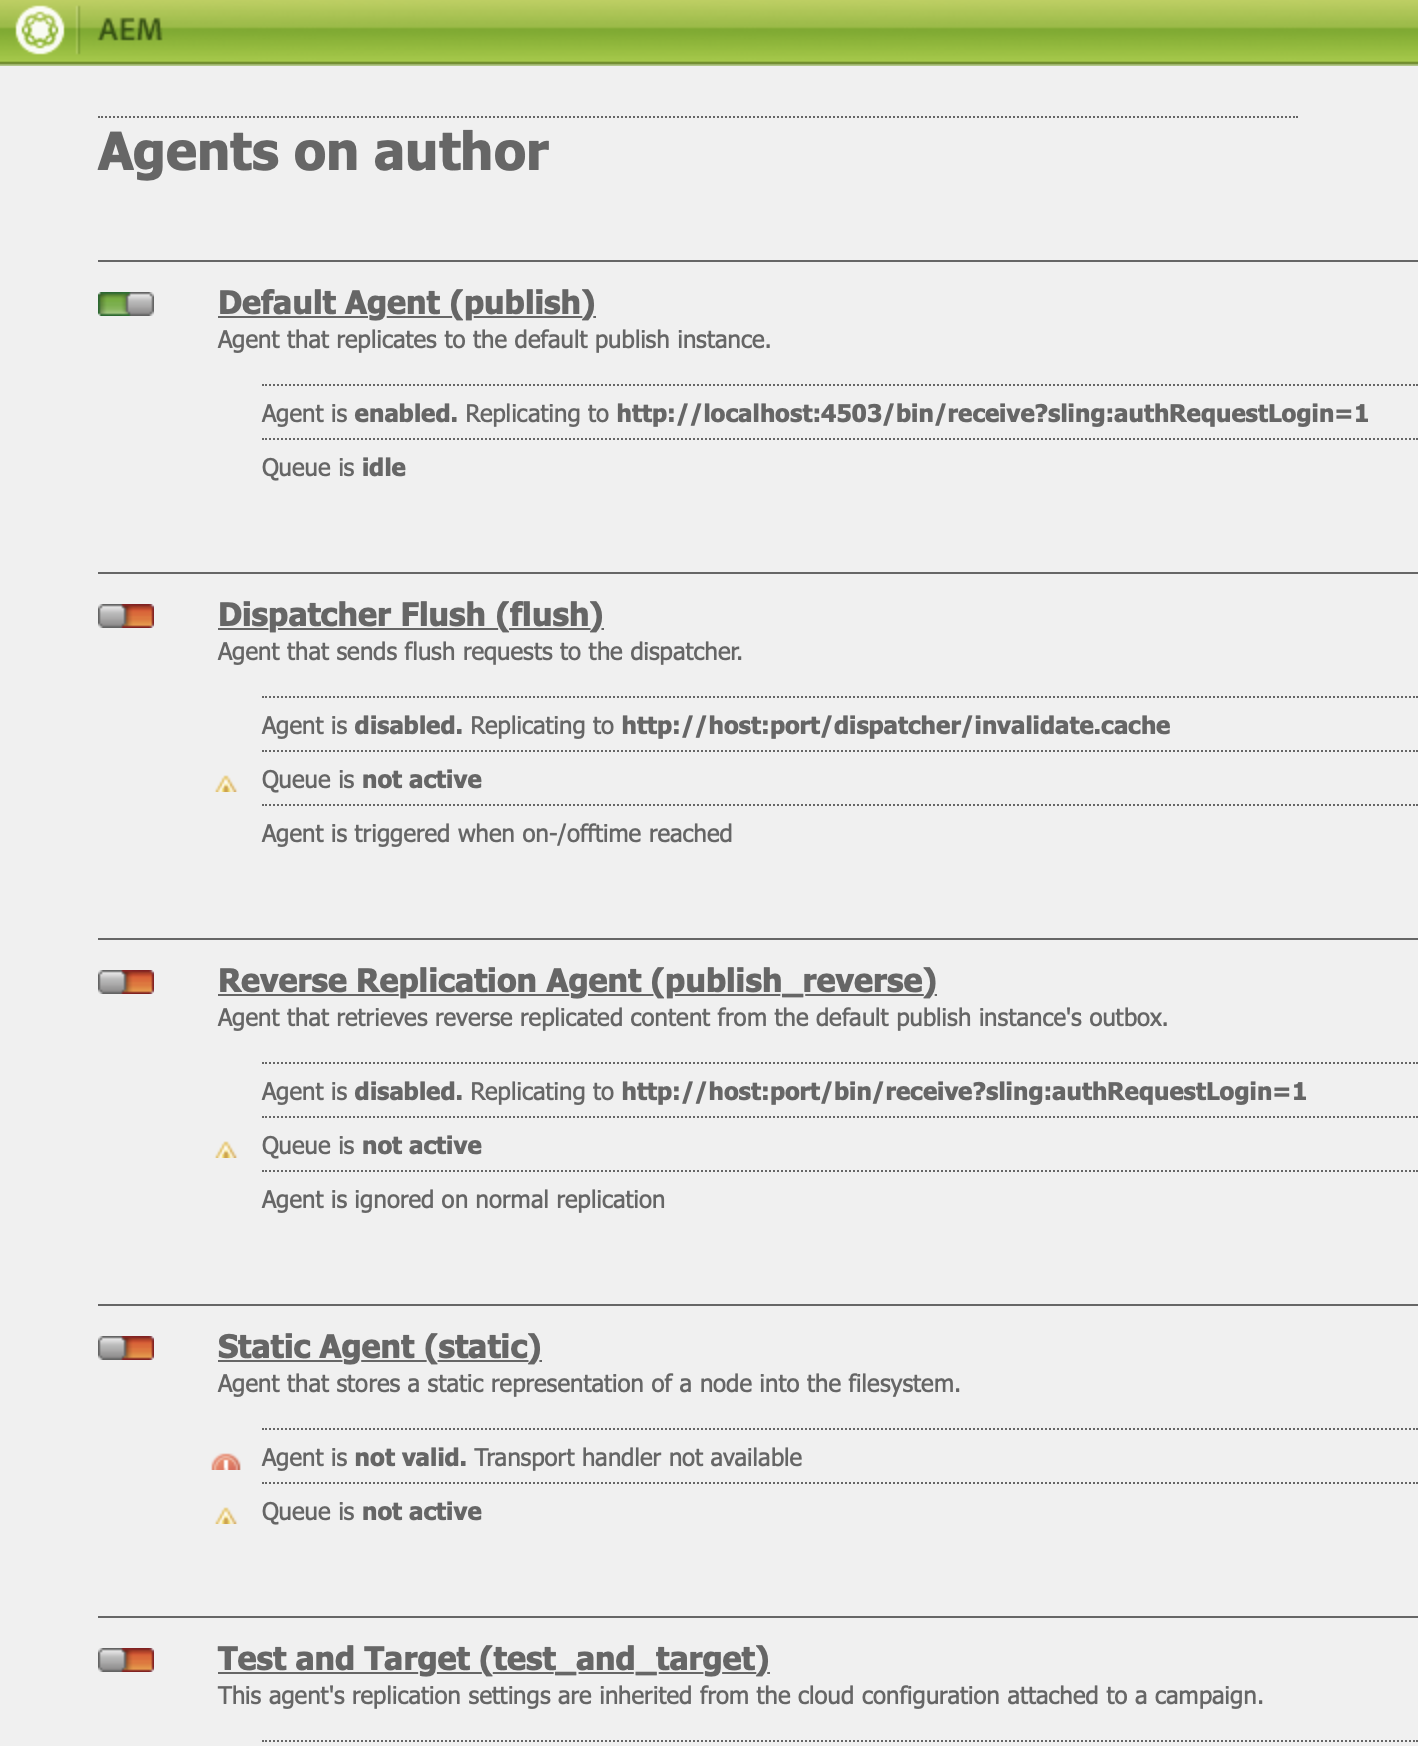
Once both your Author and Publish instances are running, you can verify replication using the Replication Agents console.
http://localhost:4502/etc/replication/agents.author.htmlRelevant agents for local setup:
- Default Agent (publish) — replicates content from Author → Publish (4503)
- Dispatcher Flush (flush) — sends cache-flush requests (disabled by default)
(Other agents (Reverse Replication, Static, Adobe Target) target enterprise scenarios and remain disabled locally.)
Example below shows Default Agent (publish) configuration.
The replication endpoint is defined with the full servlet URL:
http://localhost:4503/bin/receive?sling:authRequestLogin=1Below is the Default Agent configuration view in AEM, showing these settings:
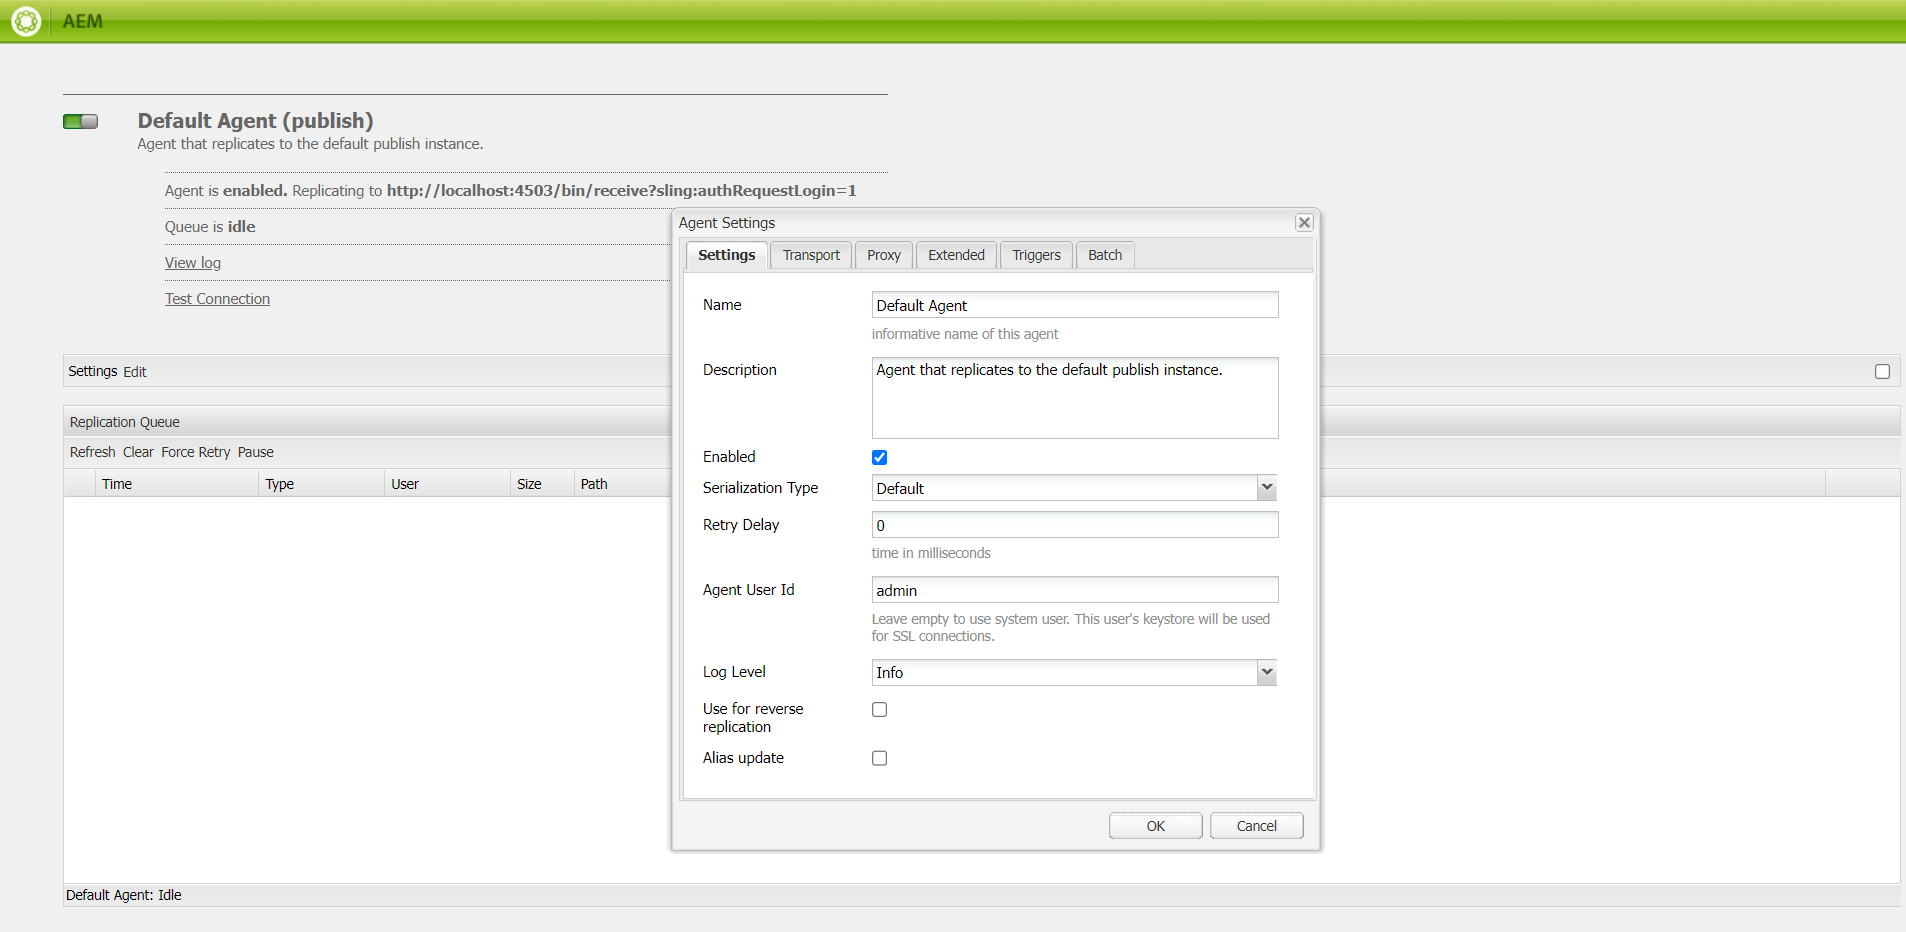
Replication endpoint: /bin/receive?sling:authRequestLogin=1
Authentication: Agent User ID (for example, admin)
Reference: Transport tab configuration below
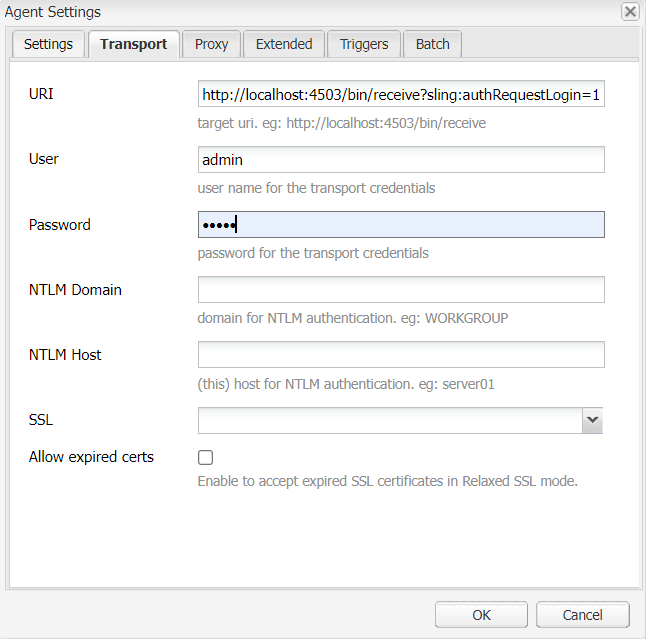
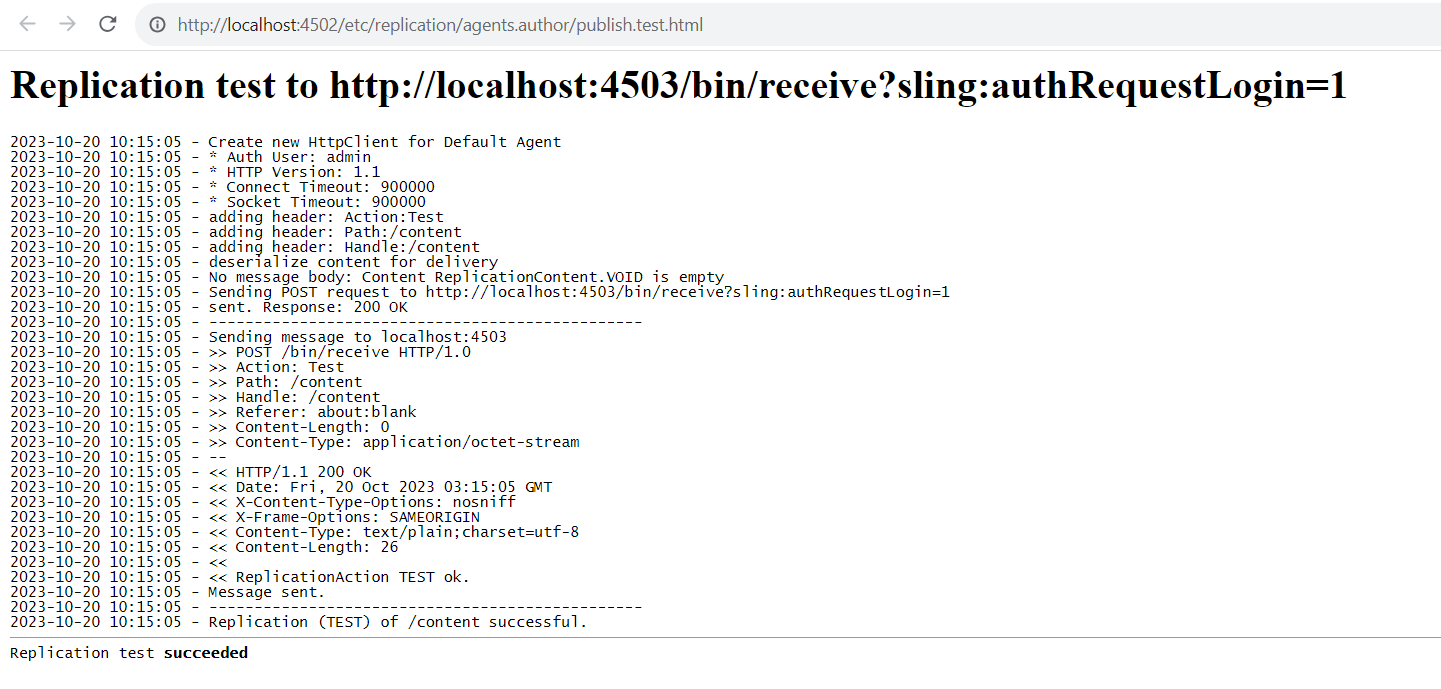
After configuring Transport settings, run Replication Test to verify Author-to-Publish connectivity.
Navigate to:
http://localhost:4502/etc/replication/agents.author/publish.test.htmlBelow is an example of a successful replication test result:
Verifying Package Installation and Replication
After Author (4502) and Publish (4503) are running, confirm package installation and replication work correctly.
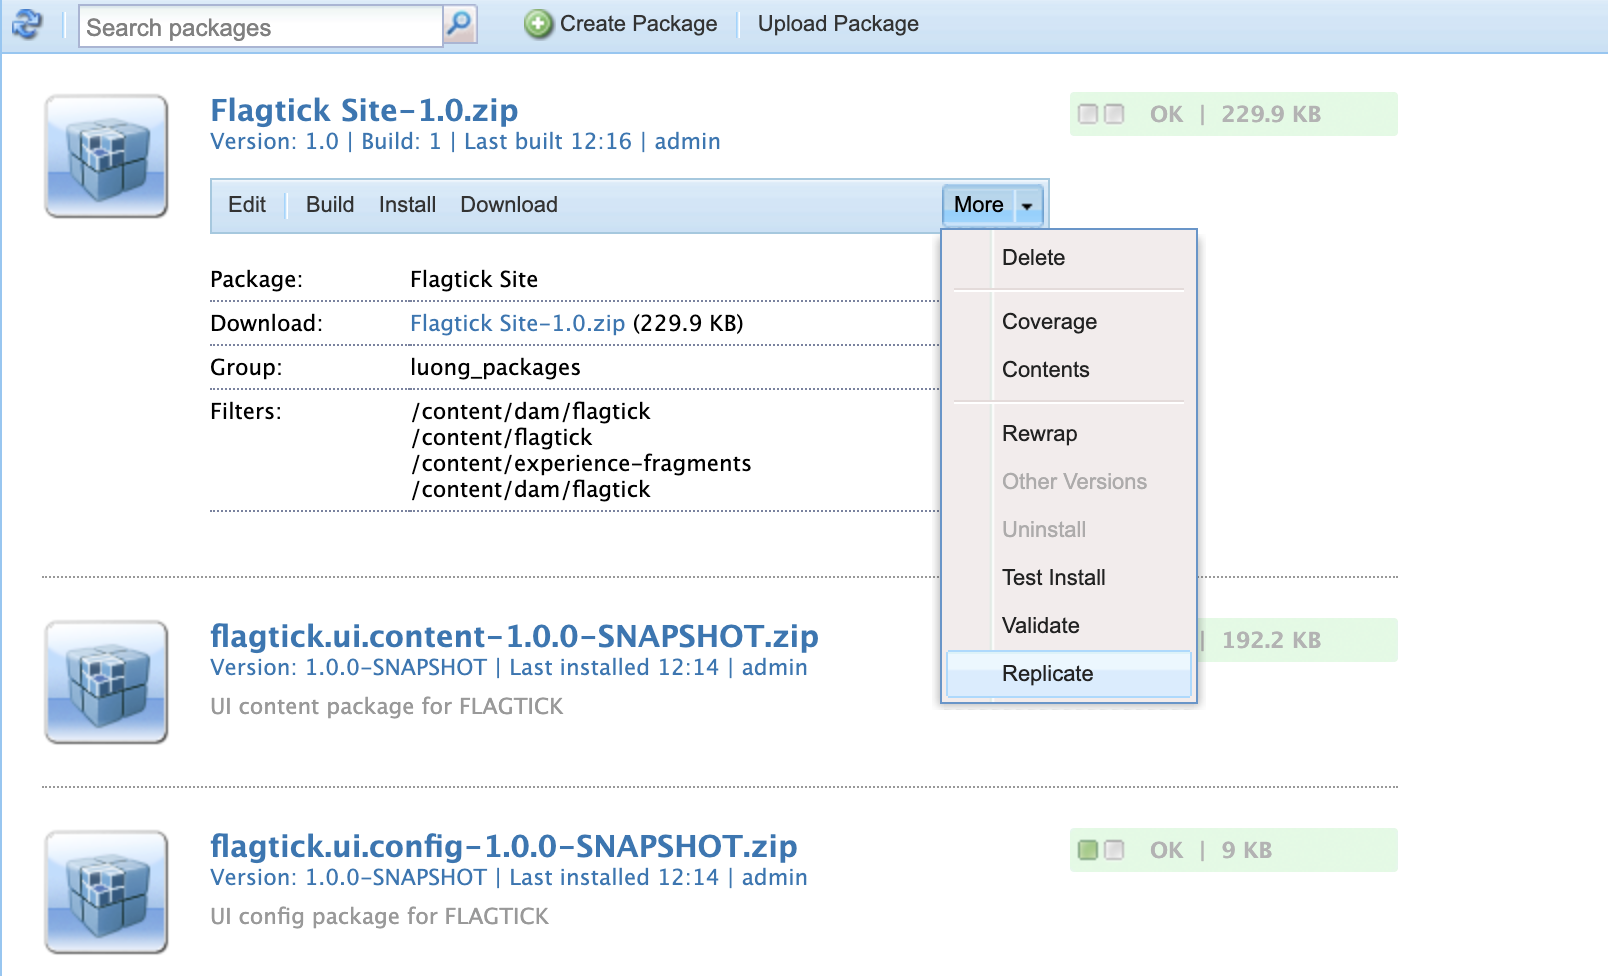
http://localhost:4502/crx/packmgr/Open CRX Package Manager on Author and verify site package (for example, Flagtick Site) shows status OK.
If missing, upload, install, and Replicate to Publish.
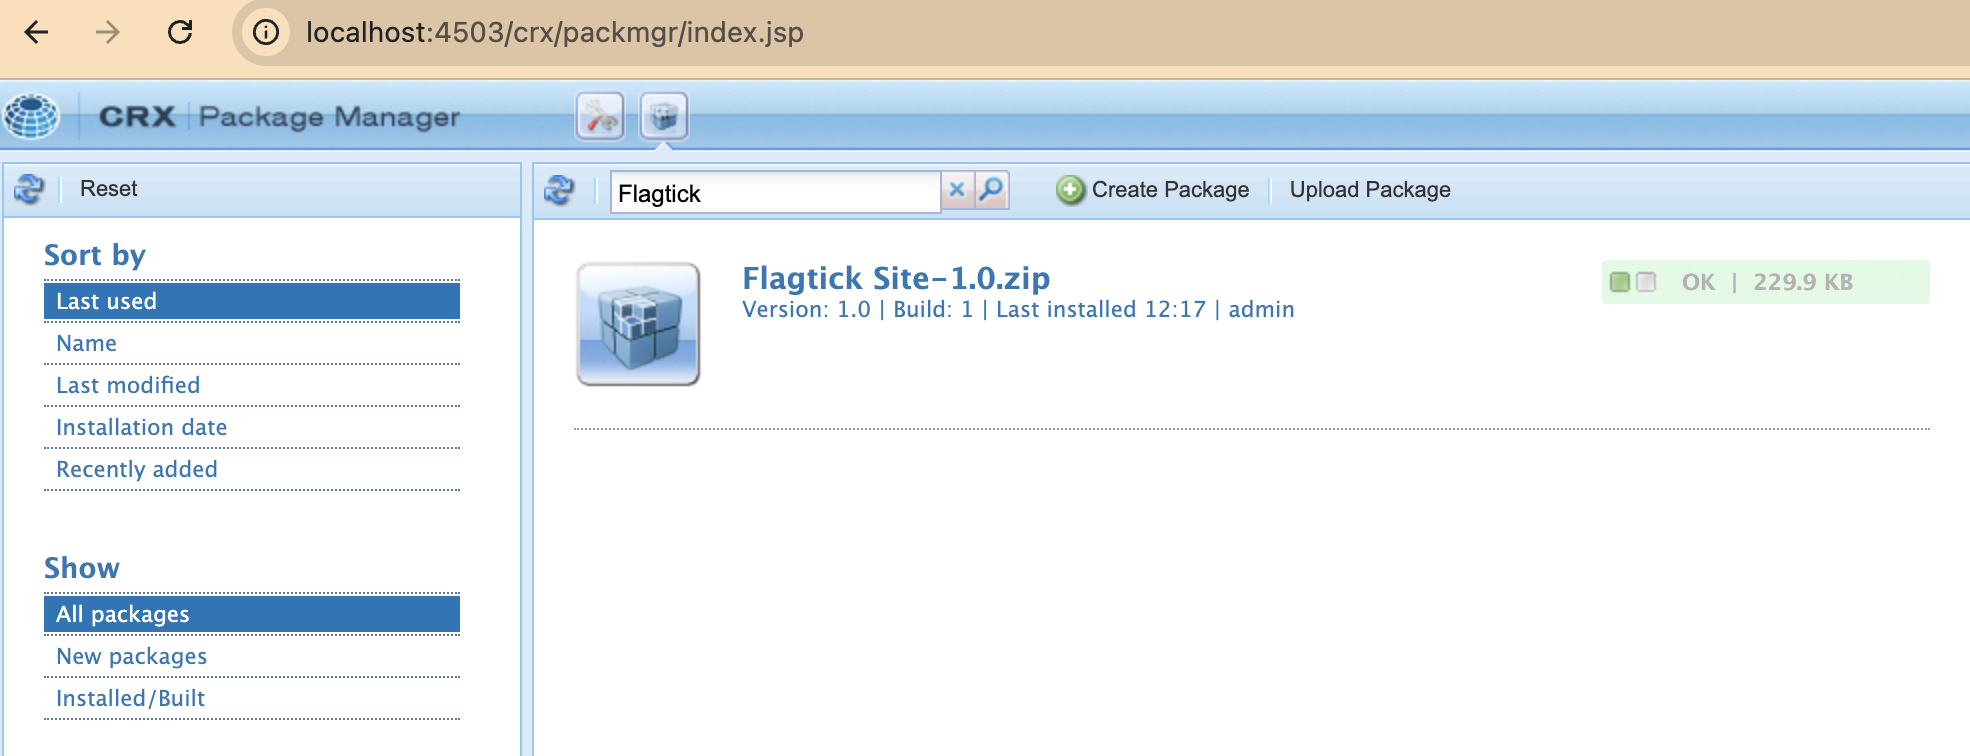
Verify same package exists on Publish (http://localhost:4503/crx/packmgr/) with matching version and size.
From the Sites Console, navigate to your site root (e.g., /content/flagtick), then choose: Manage Publication → Publish now.
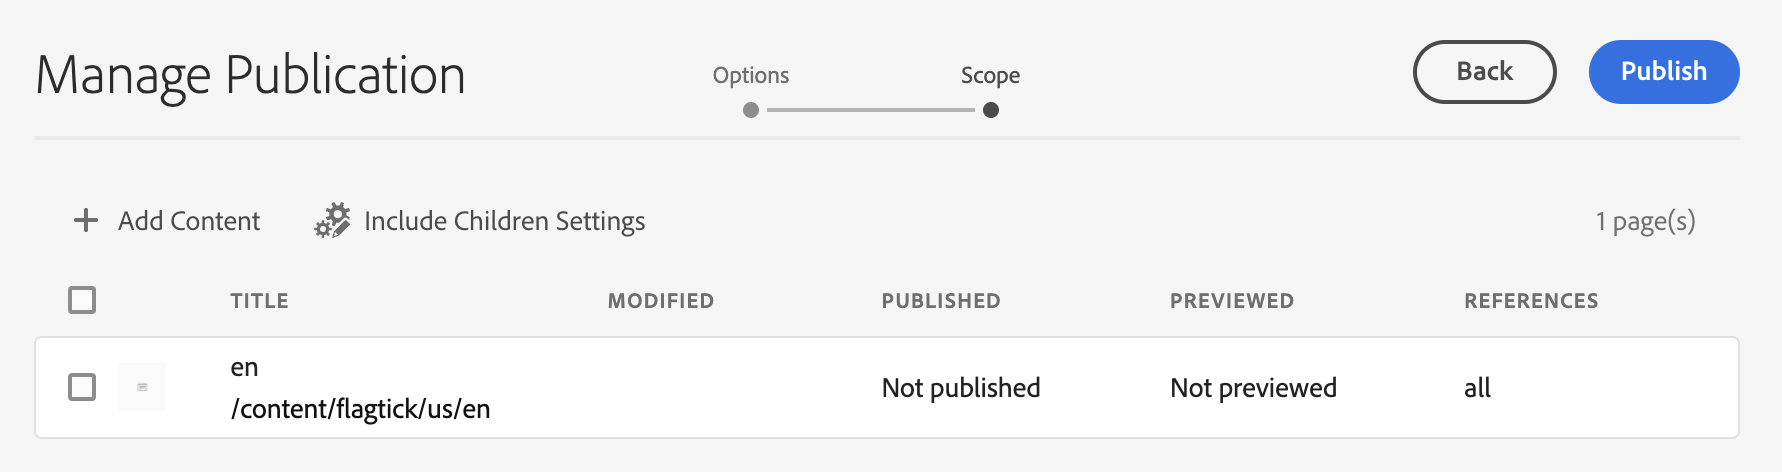
If replication does not appear on Publish, check transfer logs on Author.
http://localhost:4502/etc/replication/agents.author/publish.log.html#endOpen your Publish instance to confirm that the content has been delivered successfully:
http://localhost:4503/content/flagtick/us/en.htmlIf page loads blank or incomplete, only page node (/content/flagtick/us/en) was activated without templates, components, or clientlibs.
Fix by redeploying everything in one step:
mvn clean install -PautoInstallSinglePackagePublishSet Up Local HTTPS in AEM SDK
Use AEM SSL Configuration Console to enable HTTPS for Author and Publish. Generate a self-signed certificate or import Adobe localhost certificate.
Navigate to: 👉 SSL Configuration (Granite Security Console)
If you are running both Author and Publish instances, configure HTTPS separately for each.
| Role | Host | Port |
|---|---|---|
| author | author.local | 5433 |
| publish | publish.local | 8443 |
Add these entries to your /etc/hosts file so AEM can resolve your local HTTPS domains:
127.0.0.1 author.local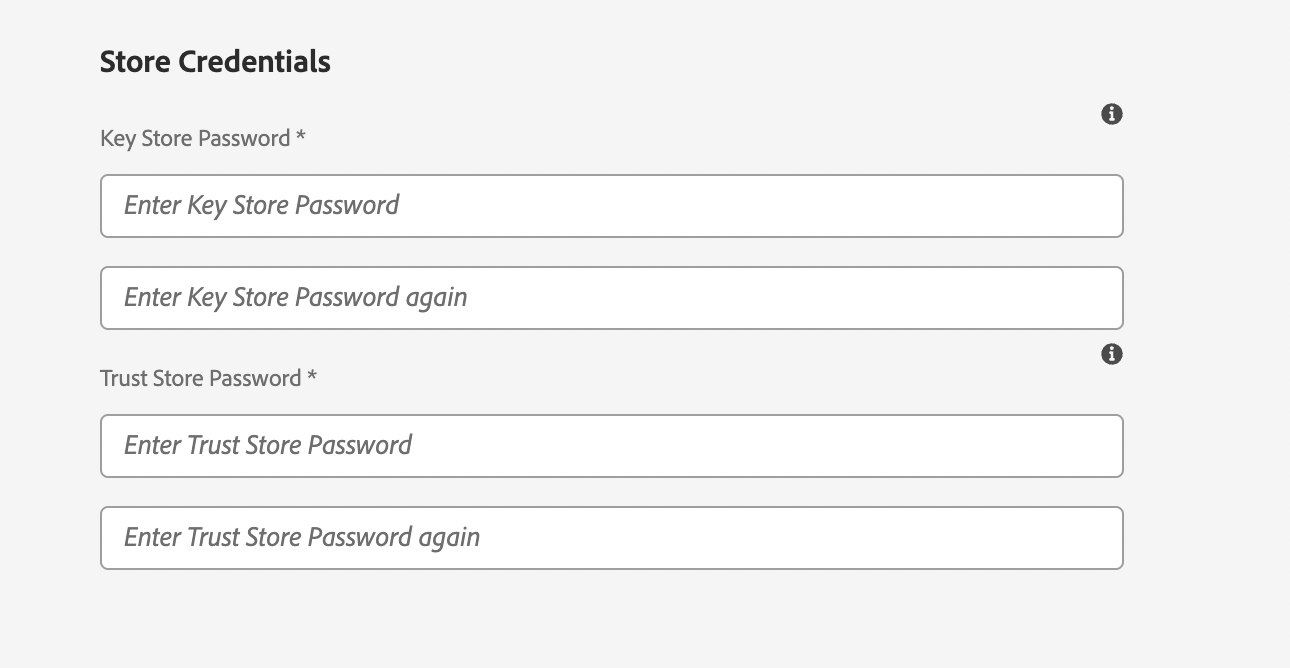
127.0.0.1 publish.localSSL Configuration Console prompts for credentials to create Key Store and Trust Store. Same password can be used unless separate stores are required (for example, admin/admin).
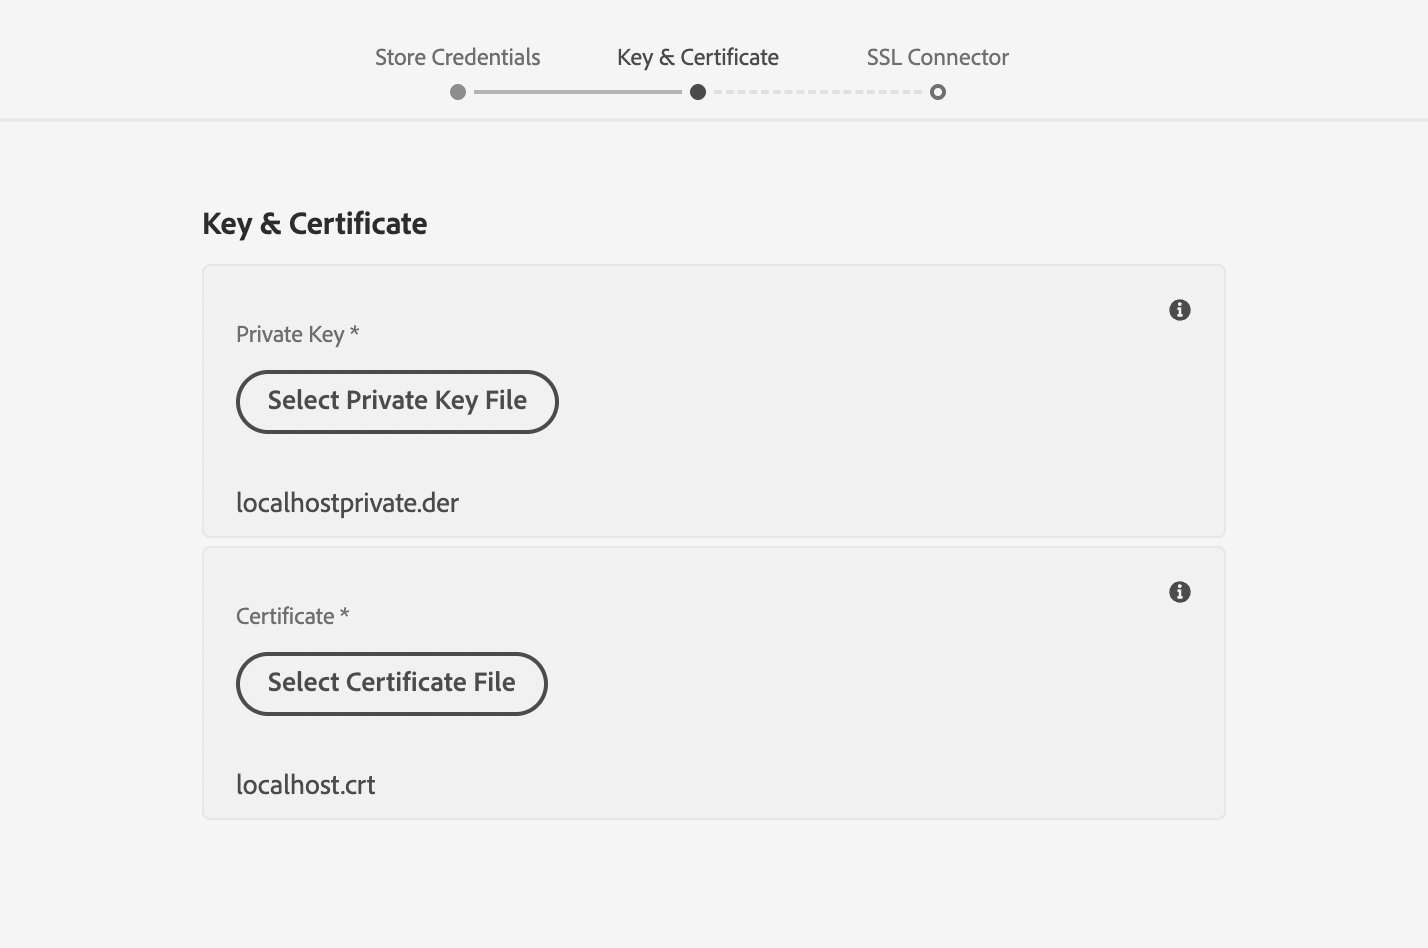
Download Adobe localhost certificate package, including public certificate (localhost.crt) and private key (localhostprivate.der) for direct use with AEM SSL Configuration wizard.
👉 Use the SSL Configuration Wizard (Adobe Experience League)
Or download the ZIP directly: Adobe localhost certificate.zip
Select Import Certificate and upload .crt and .der files.
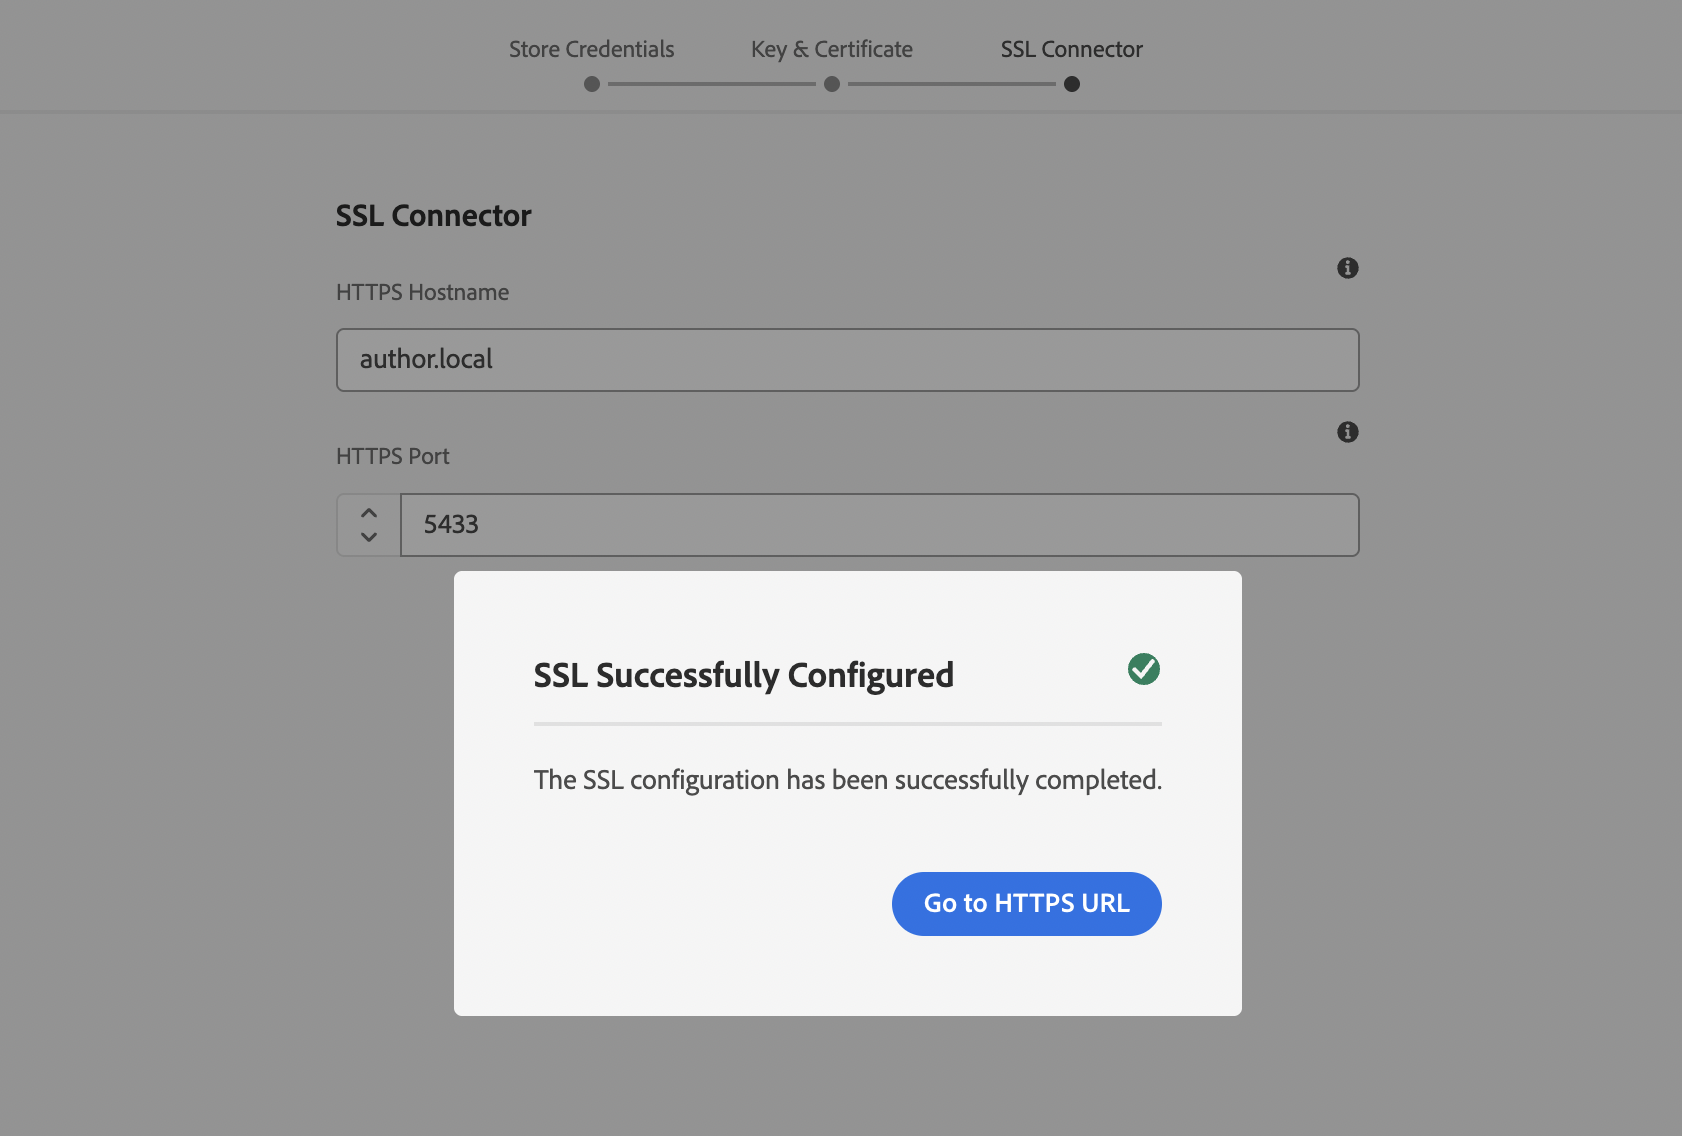
Once the certificate and key files are uploaded, complete the SSL Connector section to define your HTTPS endpoint.
Enter your local hostname and port:
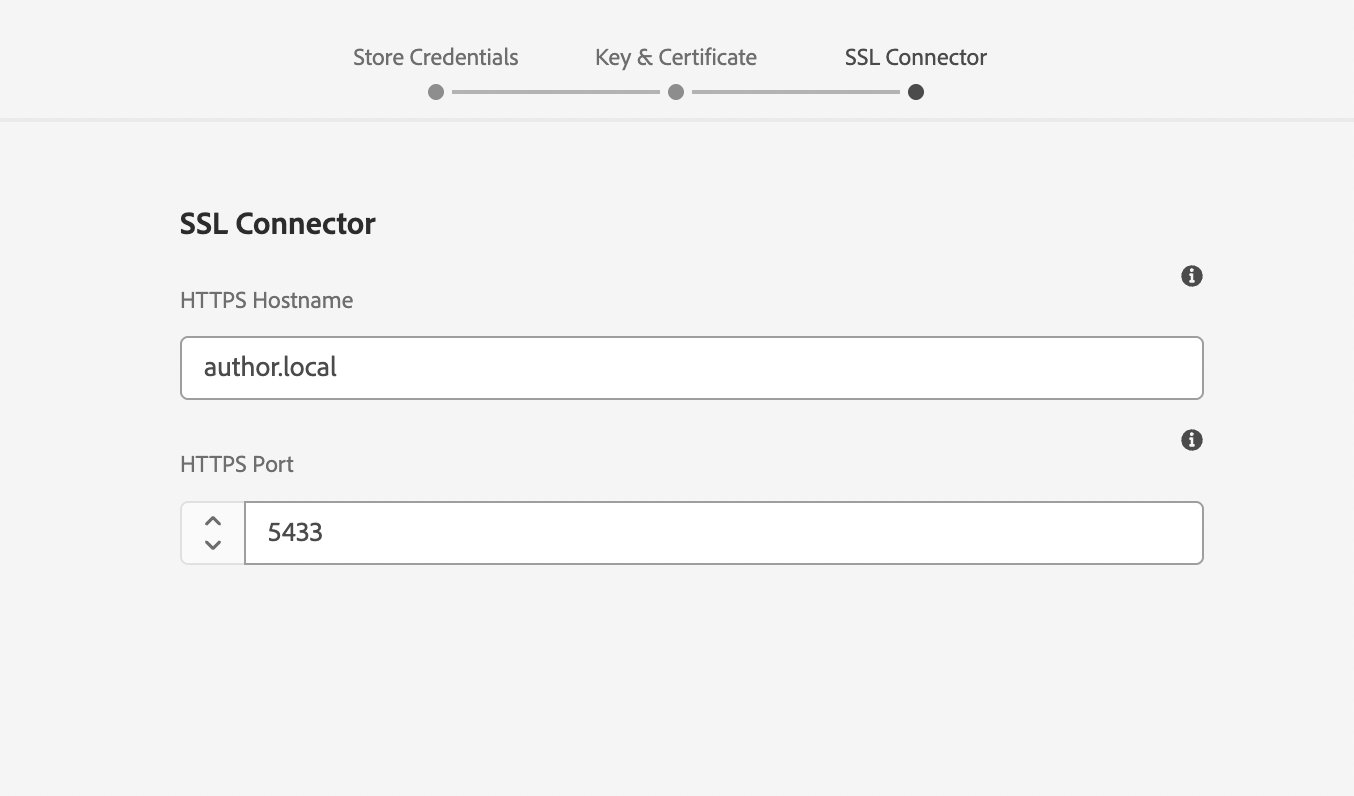
Set hostname and port, then click Next to create HTTPS connector.
Use openssl to confirm the Common Name (CN) inside your certificate:
openssl s_client -connect author.local:5433 -servername author.localIf the CN is localhost, use:
https://localhost:5433/to avoid hostname mismatch warnings.

For Publish (port 8443), setup is identical. HTTPS may take a minute to initialize while Jetty creates SSL connector.
If you run this too early:
openssl s_client -connect publish.local:8443 -servername publish.localCommand may hang until connector becomes active. This is normal—Granite Security initializes SSL after all bundles load.
Once configured, you can securely access both instances:
- Author → https://author.local:5433/
- Publish → https://publish.local:8443/
If the browser shows a certificate warning, trust the certificate in your OS (Keychain on macOS or Trusted Root on Windows).
If you ever need to turn off HTTPS temporarily:
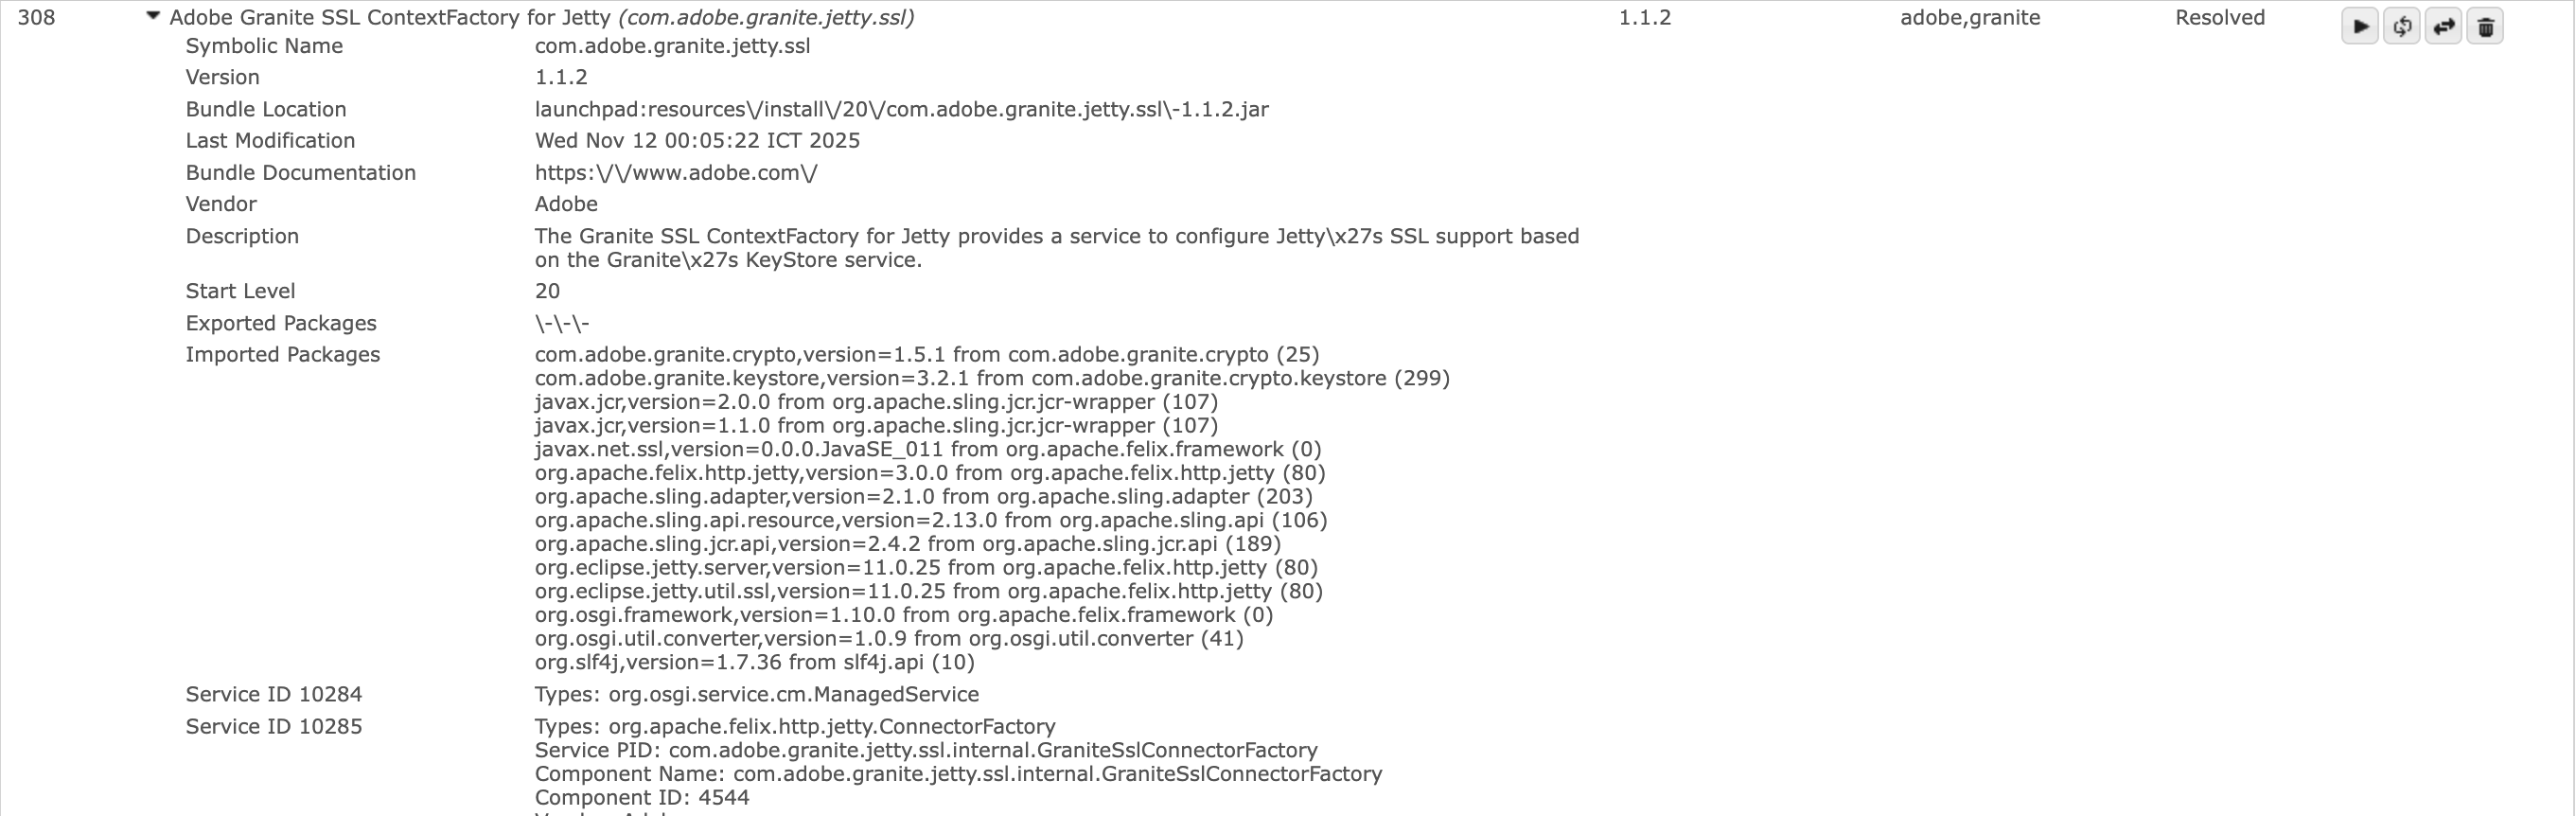
- Open the AEM OSGi Console → http://localhost:4503/system/console/bundles
- In the search bar, type Adobe Granite SSL Context Factory for Jetty
- Click Stop on that bundle
Once stopped, AEM will shut down its HTTPS connector and automatically fall back to HTTP mode (e.g., http://localhost:4503).
What’s next
In the next part, we will move on to the Dispatcher — AEM’s cache and security layer sitting in front of the Publish instance. You will:
- Understand the Dispatcher folder structure and how vhosts, farms, filters, and cache rules work together.
- Run Dispatcher in Docker locally to mirror Adobe Cloud Manager validation.
- Map a local domain (e.g.
flagtick.local) to your container and test caching, invalidation, and request logs. - Apply a few production-grade best practices like clientlib caching, header rules, and deny/allow filters.
Before You Start
Make sure you have:
- Docker Desktop installed and running.
- AEM Publish instance active (e.g. http://localhost:4503).
- The Adobe Dispatcher SDK or AMS Dispatcher Docker image downloaded.
- A hosts entry for your test domain (e.g.
127.0.0.1 flagtick.local).
👉 When you’re ready, continue to: Validate AEM Dispatcher Config Like Cloud Manager